Hinzufügen und Entfernen von Projekt-Tools
Background
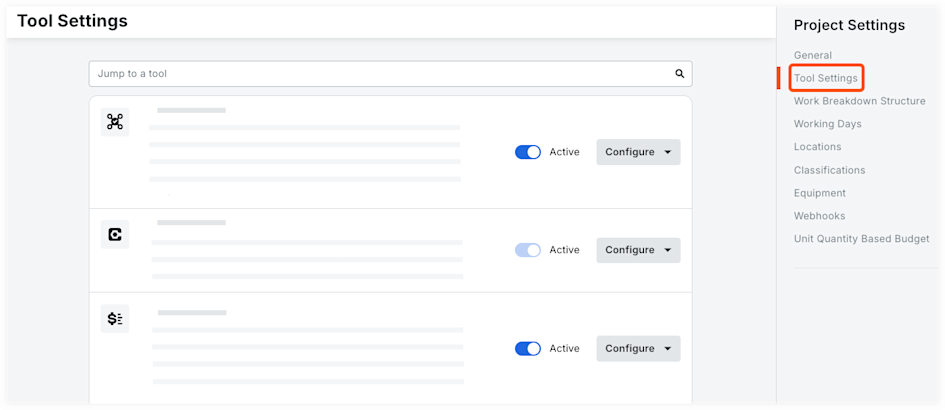
Users with Admin permissions on the project's Admin tool can enable or disable project level tools. While a tool is enabled, users with the appropriate permissions can view the tool in the Project Tools menu. While a tool is disabled, it is not visible to anyone in the menu and cannot be used.
Things to Consider
Removing a tool as an active tool on the project only removes the tool name from the Project Tools menu. It does not remove the tool's data.
Some tools are
 Active by default and cannot be removed.
If you do not see a tool that you expect to see, please reach out to your Procore Point of Contact.
Schritte
Navigieren Sie zum Admin-Tool des Projekts.
Klicken Sie unter "Projekteinstellungen" auf "Aktive Tools".
Aktivieren Sie die Kontrollkästchen neben den Tools, die für das Projekt aktiv und verfügbar sein sollen.
Anmerkung: Sie können das Kontrollkästchen neben "Alle auswählen" aktivieren, um alle für das Konto verfügbaren Tools auszuwählen, oder neben einer Produktkategorie, um alle Tools in einer Kategorie auszuwählen. Wenn Sie erneut auf das Kontrollkästchen klicken, wird die Auswahl aller Tools aufgehoben.Deaktivieren Sie die Kontrollkästchen neben den Tools, die nicht für das Projekt verfügbar sein sollen.
Optional: Klicken Sie auf ein Tool und ziehen Sie es in eine neue Sequenz, um die Darstellung der Tools im Menü Projekttools für alle Projektbenutzer neu anzuordnen.
Klicken Sie auf Aktualisieren.
See Also
Loading related articles...