Set Up Your Outbound Email Signature in the Emails Tool
Hintergrund
Um die Signatur für E-Mails, die Sie von Procore aus versenden, zu personalisieren, müssen Sie sie zu Ihrer Seite "Meine Profileinstellungen" hinzufügen. Die Änderungen, die Sie anhand der folgenden Schritte vornehmen, wirken sich auf die Signaturen aller E-Mails aus, die Sie über Tools in Procore versenden.
Dinge, die Sie beachten sollten
Erforderliche Benutzerberechtigungen:
Berechtigungen der Stufe "Schreibgeschützt" oder höher für das Startseite-Tool des Projekts.
Zusatzinformation:
Ihre E-Mail-Signatur wird auf jede E-Mail angewendet, die Sie über Tools in Procore versenden.
Steps
Log in to the Procore web application. See Log in to Procore Web.
Click your name in the top-right corner of the program and choose My Profile Settings.
In the Personal tab, scroll down to the Email Signature box.
Note
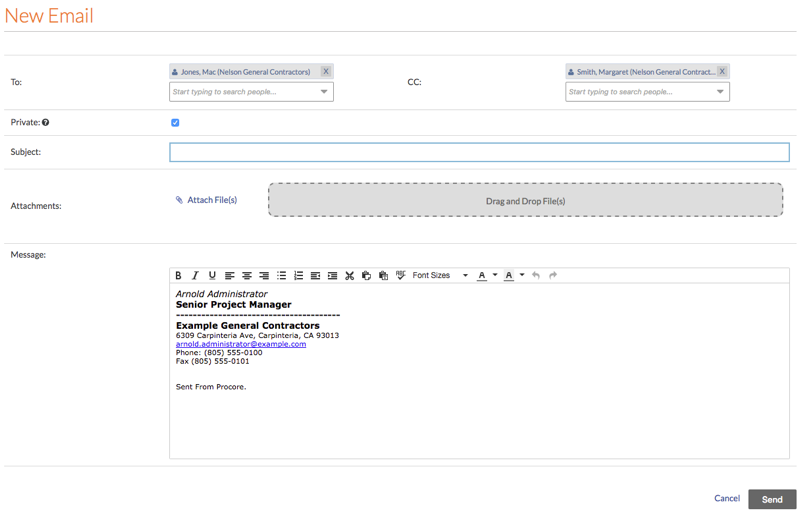
By default, the phrase 'Sent From Procore.' appears in the box. It is recommended that you leave that text in your signature as shown below, so the messages recipients reading your message will be able to quickly see that the email was sent from Procore.
In the Email Signature box, create and format your email signature.
Click Update.
Note: This saves your email signature. Now, when you create a new email from the Emails tool, or other tools in Procore, you signature automatically appears in the new message as shown below: