Edit a Timesheet (iOS)

Things to Consider

  • Required User Permissions

  • The 'Individual Entries' section shows time submitted by a user through the Timecard, Daily Log, or My Time tools.

  • When a signed timesheet is edited, the signature is removed. The employee must re-sign the edited entry.

Prerequisites

Steps

  1. Navigate to the Timesheets tool on your iOS device.

  2. Navigate to the date you want to edit a timesheet for.

  3. Tap the timesheet you want to edit.
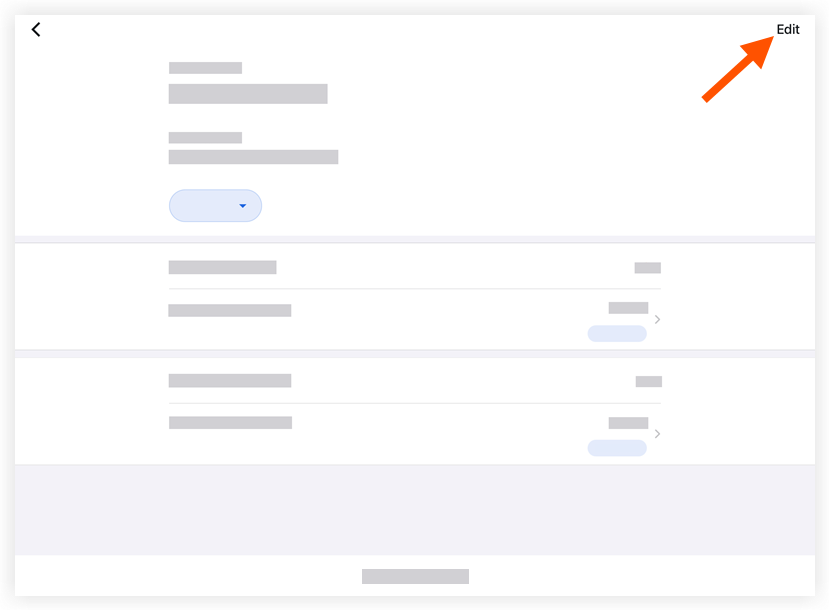
  4. Tap Edit.
    timesheets-ios-edit-timesheet.png

  5. Tap the Date field to modify the timesheet's date. Then tap Done once the date is selected.

  6. Tap the timecard entry you want to edit.

  7. Tap any of the fields to enter information. Show/Hide Fields

     Notes

    Some fields can be configured as required, optional, or hidden. See Which fields in the Timesheets tool can be configured as required, optional, or hidden?

    • Classification: The resource classification.

    • Codes

    • Location: The location where the work was performed.

    • Time

      • Total Time: The total time worked for the day.

      • Start Time: The time the resource started working.

      • Stop Time: The time the resource stopped working.
        Note: You will only see the Start and Stop fields if you have configured your settings to show these fields. See Configure Advanced Settings: Project Level Timesheets.

      • Lunch Time: The amount of time taken for a lunch break.
        Notes:

        • The amount of time selected will be subtracted from the Total Time.

        • This field will only be available if Start Time and Stop Time is enabled.

      • Time Type: Select the type of pay being entered.

        • Regular Time

        • Double Time

        • Exempt

        • Holiday

        • Overtime

        • PTO

        • Salary

        • Vacation

    • Billable: Tap the toggle to indicate whether or not the entry is billable.

    • Auto-Apply Overtime Rules (Beta). Tap the toggle to automatically enforce overtime rules.

    • Description: Additional comments that will show in the timecard entry.

  8. Tap Add Line to add a line.

  9. Tap Apply.

  10. Tap Submit.

See Also

Loading related articles...