Federate a New Project Model with Model Manager
Background
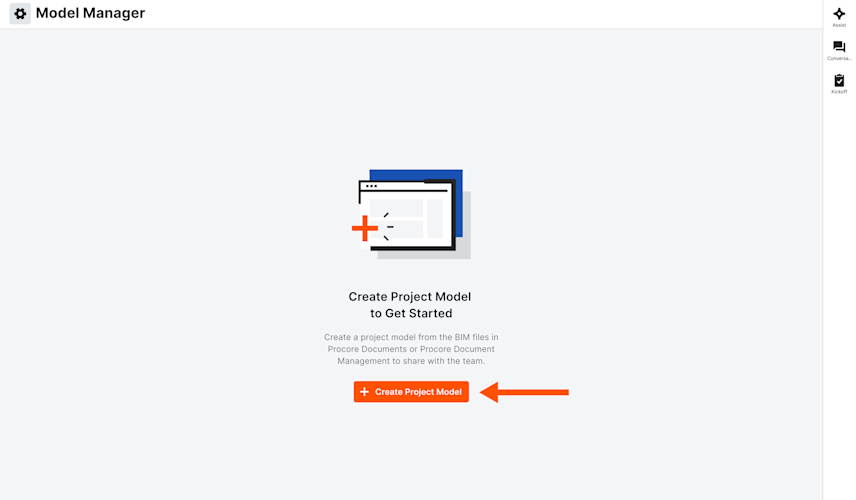
As an Admin on the Model Manager tool, you have the ability to create a federated project model, which aggregates individual, discipline-specific source files into a single, navigable 3D environment. This allows you to maintain precise control over source file versions and user permissions, ensuring your team is operating from a "single source of truth" without compromising individual source file integrity. This centralized oversight simplifies your coordination workflow, ensuring field teams always access the most current, integrated design data.
Things to Consider
Prerequisites
The Model Manager tool must be enabled at both the Company and Project levels. See Enable Model Manager on a Procore Project.
Important
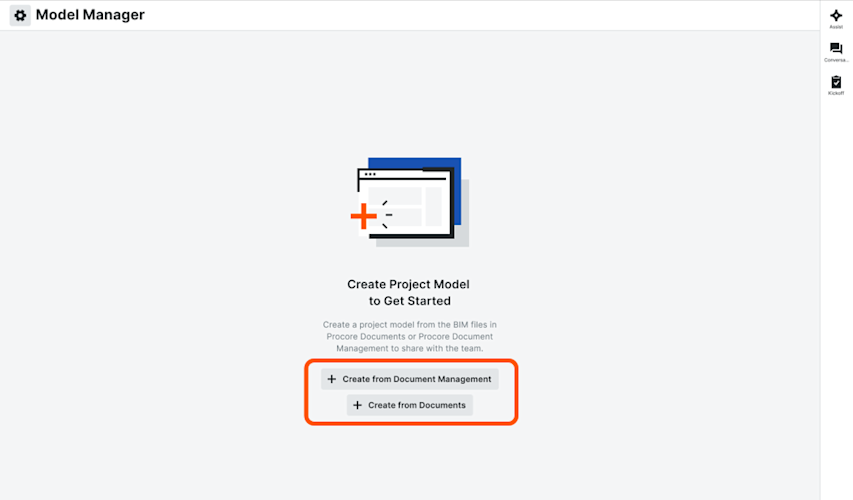
Always upload your discipline-specific model files to the project's document repository before adding them to the project model. For instructions, see:
Document Management: Upload Documents to the Document Management Tool
Documents: Upload Files and Folders to the Project Level Documents Tool