お使いの言語設定で、V2サポートサイト内で利用可能なページは、動画ライブラリページのみです。ウェブサイトの全面公開はまもなくです。
他に何かお探しのコンテンツはありますか?V1 サポートサイトに戻る。
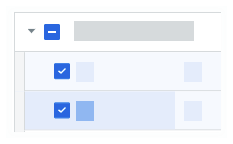
Other options in the Table Settings area include:
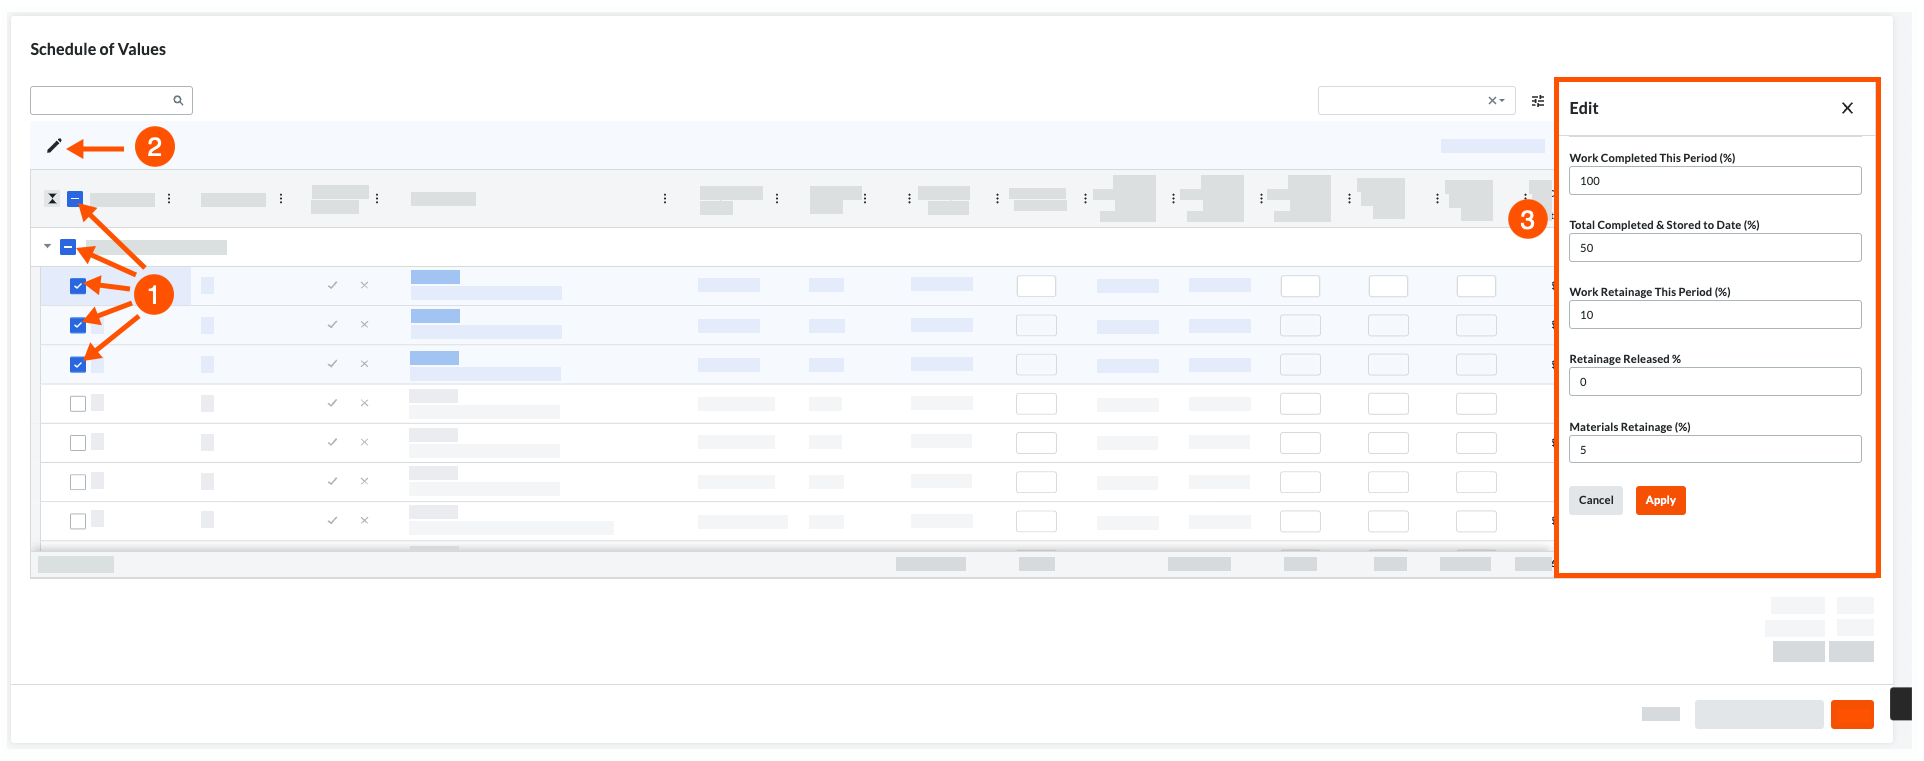
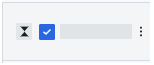
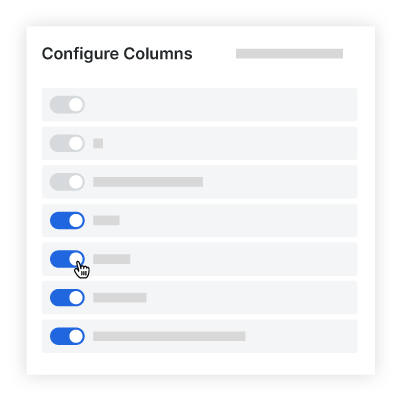
To hide a specific column, move the toggle to the left.
To show a specific column, move the toggle to the right.
To restore Procore's default column settings, click the Reset to Default link.
Manage Columns
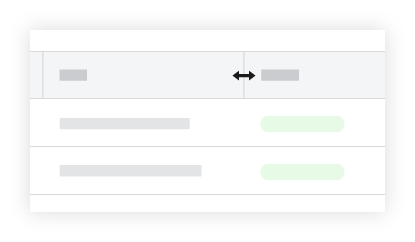
Adjust Column Width
To adjust the width of a single column, hover your cursor over the right border of a column heading until the resize handle  icon appears. Then drag the handle to the left or right to set the desired column width. If you press the SHIFT key while holding down the resize handle, a blue outline appears over the active column to help you see your column adjustment.
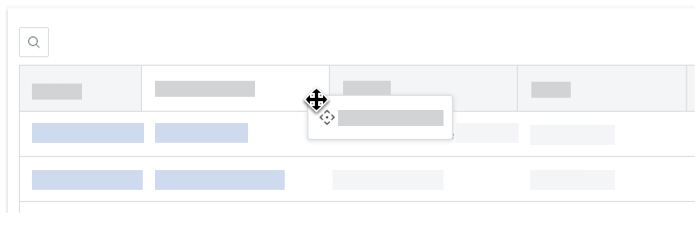
Arrange Columns
To move a column to another position in the table, click and hold the desired column's heading. Then use a drag-and-drop operation to place in the position you want.
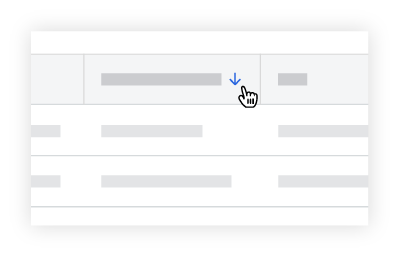
Sort Columns
To sort the table's data by a specific column, click any column heading to reveal a BLUE arrow to adjust the sort order of the table.
Icon | Sort Order | Additional Information |
|---|

| Ascending | To reset your columns, hover your cursor over the right side of a column heading until the vertical ellipsis  appears. Then choose Reset Columns from the drop-down menu. appears. Then choose Reset Columns from the drop-down menu. |

| Descending | |
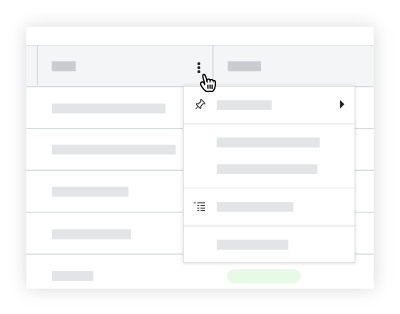
Overflow Menu
To open a drop-down menu with additional column options, hover your cursor over the right side of a column heading until a vertical ellipsis appears. Then click the vertical ellipsis to reveal an Overflow menu with the additional options. The options are pictured below.
Group By Column
All columns contain an 'Group By' option in the Overflow menu. This lets you group the table's data by the column you select.

Column Grouping Options
Simply hover your mouse cursor over one of these columns until the vertical ellipsis for the Overflow menu appears. Then click the ellipsis and select the column Group By option. You can also apply multiple grouping options to your table by selecting the same option on other columns.
Pin Column
To keep data columns in the Contracts table from moving when you scroll, you can pin a column to freeze it in place. To do this, hover your cursor over the right side of a column heading unit the vertical ellipsis appears. Next, click the vertical ellipsis and choose Pin Column. Then choose one of these options:
To pin a column on the left side of the table, choose Pin Left.
To pin a column on the left side of the table, choose Pin Right.
Procore pins columns to the left or right side of the page in the order columns are pinned.
You can rearrange your pinned columns by dragging and dropping a column into the desired position.
You can pin columns to both the left and right side of the table.
To remove all pins, choose No Pin.
Autosize this Column
To automatically set the width of a column to match its contents, hover your cursor over the right side of a column heading until the vertical ellipsis appears. Then click the vertical ellipsis and select the Autosize This Column option from the drop-down menu.
Autosize All Columns
To automatically set the width of all columns in the table to best match the contents, hover your cursor over the right side of a column heading until the vertical ellipsis appears. Then click the vertical ellipsis and select the Autosize All Columns option from the drop-down menu.
Reset Columns
To reset the table's columns to Procore's default settings, hover your cursor over the right side of a column heading until the vertical ellipsis appears. Then click the vertical ellipsis and select the Reset Columns option from the drop-down menu. This resets all of your column settings to Procore's default settings.
See Also
Loading related articles...