Navigate to the project's Timesheets tool from your iOS device.
Navigate to the desired date.
Tap the timesheet to which you want to add employees.
Tap Edit.
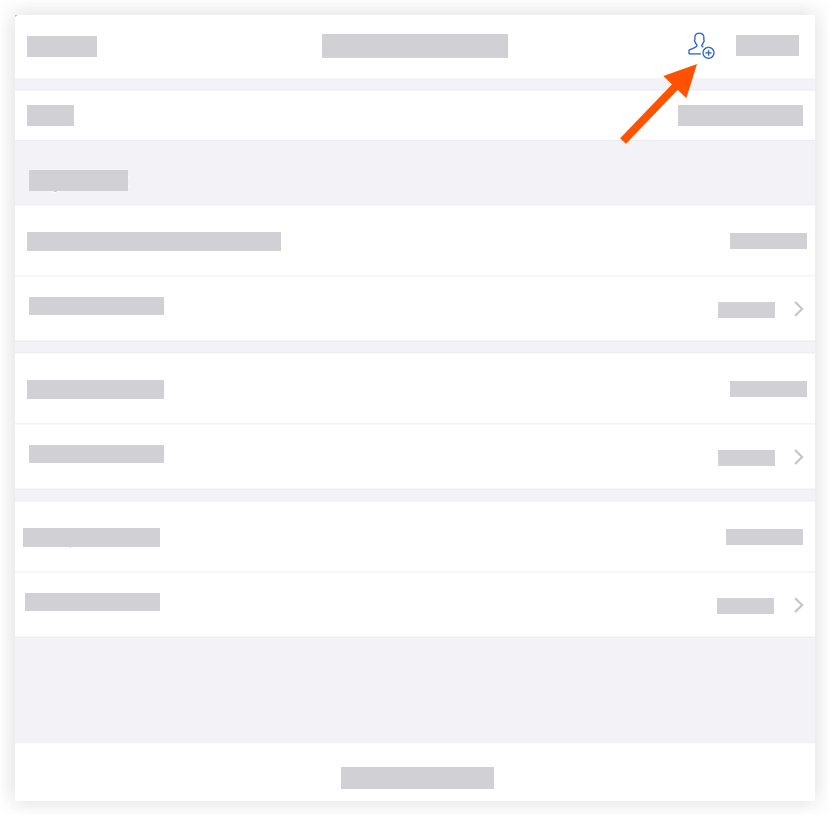
Tap Add Employee.
Tap to select the crews and employees you want to add to the timesheet.
Tap Done.
Tap Add Line to enter the resource's timecard information. Show/Hide Fields
Note
Project Timesheets Administrators configure how each project collects time.
Classification: The resource classification.
Codes
Task Code: A combination of Cost Codes and Sub Jobs.
Cost Code: The cost code associated with the time entry.
Sub Job: Select from the drop-down menu the sub job associated with the time entry.
Location: The location where the work was performed.
Time
Total Time: The total time worked for the day.
Start Time: The time the resource started working.
Stop Time: The time the resource stopped working.
Lunch Time: The amount of time taken for a lunch break. Notes:
The amount of time selected will be subtracted from the Total Time.
This field will only be available if Start Time and Stop Time is enabled.
Time Type: Select the type of pay being entered.
Regular Time
Double Time
Exempt
Holiday
Overtime
PTO
Salary
Vacation
Billable: Tap the toggle to indicate whether or not the entry is billable.
Auto-Apply Overtime Rules (Beta). Tap the toggle to automatically enforce overtime rules.
Description: Additional comments that will show in the timecard entry.
Tap Apply.
Tap Submit.
Grid View (Tablet Only)
Navigate to the project's Timesheets tool from your iOS device.
Navigate to the desired date.
Tap the timesheet to which you want to add employees.
Tap Edit.
Tap Add Resource.
Select the crews, employees, or equipment you want to add.
Tap Done.
Follow steps to enter or update timecard information:
Enter Time by Tapping Cells
Tap any task code field for a user or equipment and enter the timecard information. Note: You can tap multiple cells to bulk enter time.
Show/Hide Fields for Labor
Note
Project Timesheets Administrators configure how each project collects time.
Task Code: A combination of Cost Codes and Sub Jobs.
Location: The location where the work was performed.
Time
Total Time: The total time worked for the day.
Start Time: The time the resource started working.
Stop Time: The time the resource stopped working. Note: You will only see the Start and Stop fields if you have configured your settings to show these fields. See Configure Advanced Settings: Project Level Timesheets.
Lunch Time: The amount of time taken for a lunch break. Notes:
The amount of time selected will be subtracted from the Total Time.
This field will only be available if Start Time and Stop Time is enabled.
Time Type: The type of pay being entered.
Regular Time
Double Time
Exempt
Holiday
Overtime
PTO
Salary
Vacation
Billable: The ON toggle indicates that entry is billable.
Auto-Apply Overtime Rules (Beta). The ON toggle automatically enforces overtime rules.
Description: Additional comments that will show in the timecard entry.
Show/Hide Fields for Equipment
Note
Project Timesheets Administrators configure how each project collects time.
Task Code: A combination of Cost Codes and Sub Jobs.
Operator: The user operating the equipment.
Operating Hours: How many hours the equipment was operating.
Idle Hours: How many hours the equipment was idle.
Tap Apply.
Bulk Enter Time Using Checkboxes
Tap the checkboxes for the resources you want to enter time for.
Enter the information to be applied to all selected timecards. Note: If you wish not to apply the information to one of the selected cells, tap the highlighted cell to deselect.
Show/Hide Fields for Labor
Note
Project Timesheets Administrators configure how each project collects time.
Task Code: A combination of Cost Codes and Sub Jobs.
Location: The location where the work was performed.
Time
Total Time: The total time worked for the day.
Start Time: The time the resource started working.
Stop Time: The time the resource stopped working. Note: You will only see the Start and Stop fields if you have configured your settings to show these fields. See Configure Advanced Settings: Project Level Timesheets.
Lunch Time: The amount of time taken for a lunch break. Notes:
The amount of time selected will be subtracted from the Total Time.
This field will only be available if Start Time and Stop Time is enabled.
Time Type: The type of pay being entered.
Regular Time
Double Time
Exempt
Holiday
Overtime
PTO
Salary
Vacation
Billable: The ON toggle indicates that entry is billable.
Auto-Apply Overtime Rules (Beta). The ON toggle automatically enforces overtime rules.
Description: Additional comments that will show in the timecard entry.
Show/Hide Fields for Equipment
Note
Project Timesheets Administrators configure how each project collects time.
Task Code: A combination of Cost Codes and Sub Jobs.
Operator: The user operating the equipment.
Operating Hours: How many hours the equipment was operating.
Idle Hours: How many hours the equipment was idle.
Tap Apply.
Bulk Enter Time for a Single Task Code
Tap the horizontal ellipsis for the task code.
Tap Labor Time Entry or Equipment Time Entry.
Enter the information to be applied to all selected timecards. Note: If you wish not to apply the information to one of the selected cells, tap the highlighted cell to deselect.
Show/Hide Fields for Labor
Note
Project Timesheets Administrators configure how each project collects time.
Task Code: A combination of Cost Codes and Sub Jobs.
Location: The location where the work was performed.
Time
Total Time: The total time worked for the day.
Start Time: The time the resource started working.
Stop Time: The time the resource stopped working. Note: You will only see the Start and Stop fields if you have configured your settings to show these fields. See Configure Advanced Settings: Project Level Timesheets.
Lunch Time: The amount of time taken for a lunch break. Notes:
The amount of time selected will be subtracted from the Total Time.
This field will only be available if Start Time and Stop Time is enabled.
Time Type: The type of pay being entered.
Regular Time
Double Time
Exempt
Holiday
Overtime
PTO
Salary
Vacation
Billable: The ON toggle indicates that entry is billable.
Auto-Apply Overtime Rules (Beta). The ON toggle automatically enforces overtime rules.
Description: Additional comments that will show in the timecard entry.
Show/Hide Fields for Equipment
Note
Project Timesheets Administrators configure how each project collects time.
Task Code: A combination of Cost Codes and Sub Jobs.
Operator: The user operating the equipment.
Operating Hours: How many hours the equipment was operating.
Idle Hours: How many hours the equipment was idle.
Tap Apply.
Optional: To add another task code, tap Add Code. Select the task code, then tap Done.
Optional: To remove a resource, tap the horizontal ellipsis next to the resource, then tap Delete Resource.
Review the summary for the timecards' hours, and the daily and weekly hours across all projects.