Create a Forecasting View
Background
The project's Budget tool provides your team with the ability to create and edit forecasting views. The 'Procore Standard Forecast' view contains the same columns as the 'Procore Standard Budget' view. However, it also includes columns that let you select a Start Date, End Date, and Curve from a drop-down list. This allows you to transform your data into a forecasting view that automatically spreads the line item's amounts across Month columns for any timeline that you specify.
Things to Consider
Required User Permissions:
'Admin' level permissions on the Company level Admin tool.
Additional Information:
To learn about the default forecasting view for the Budget tool, see About the Procore Standard Forecast View.
Steps
Navigate to the Company level Admin tool.
Under 'Tool Settings', click Budget.
Select the Forecasting Views tab.
Click + Create.
Note
Procore provides a Procore Standard Forecast view that contains different columns. See About the Procore Standard Forecast View. This example shows you how to use the Procore Standard Forecast view as your starting point for customizing a forecasting view to fit your specific business needs.
In the 'Create a New Forecasting View' modal, select the radio button next to one of these views: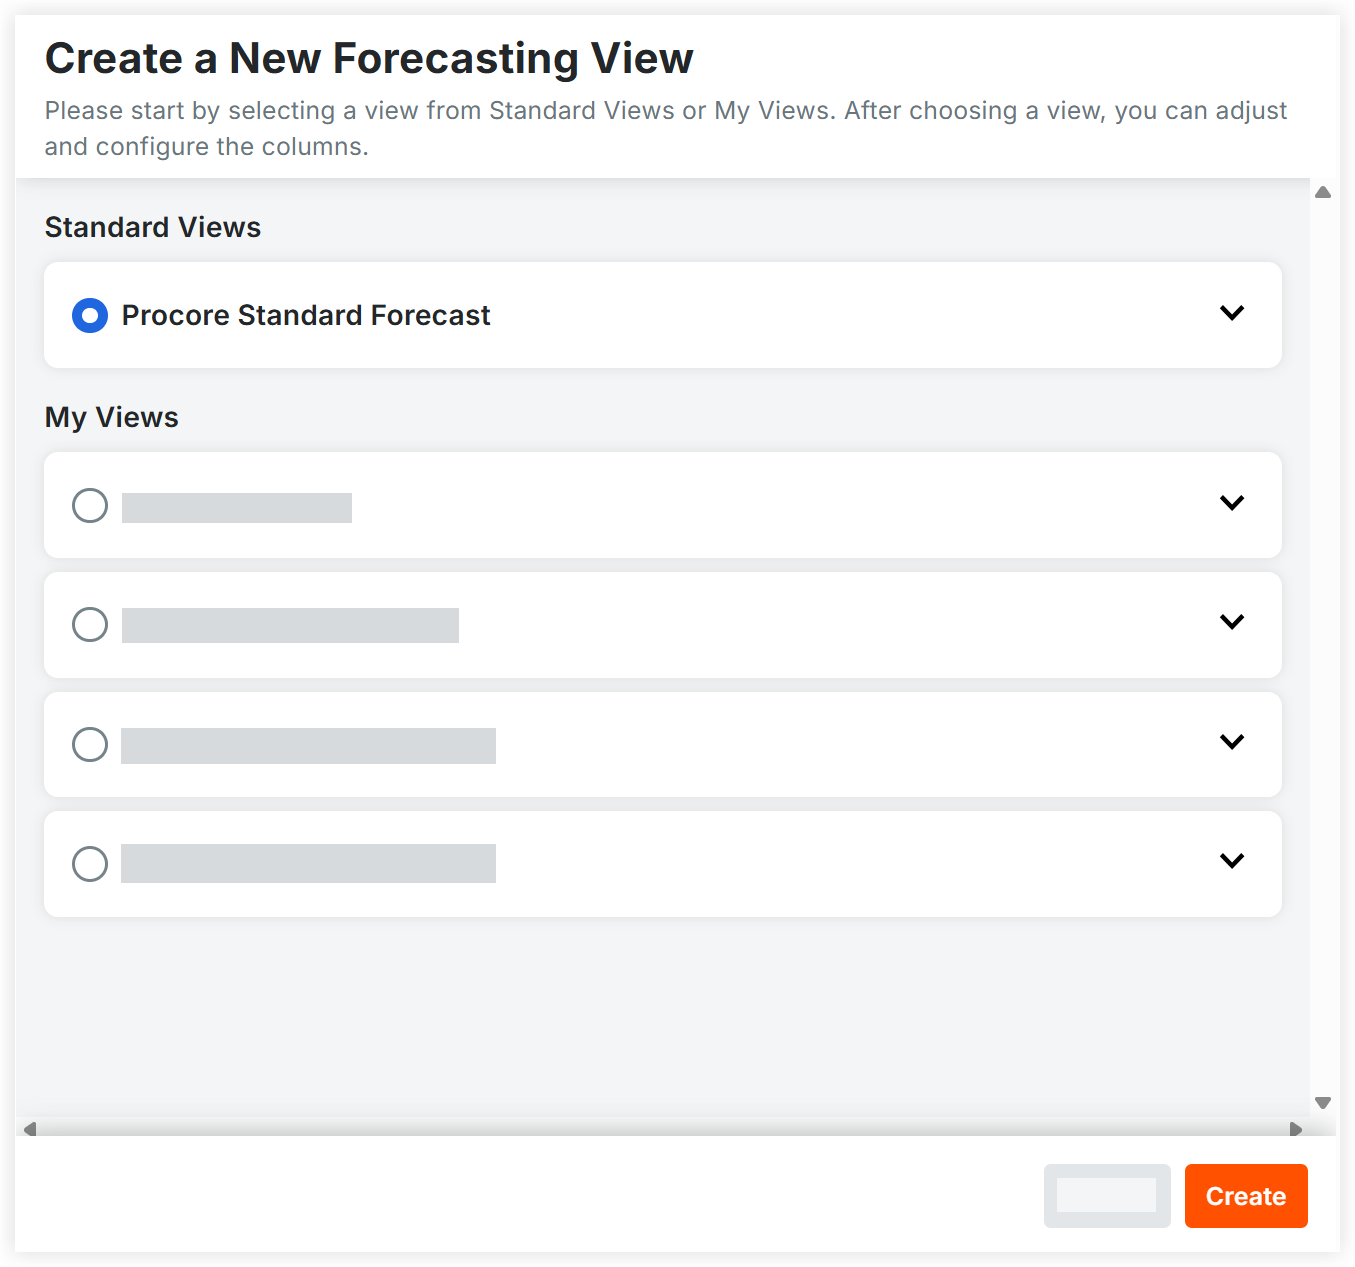
Standard Views
Procore Standard Forecast: This default view includes columns such as Approved COs, Revised Budget, Projected Budget, Projected Costs, Estimated Cost at Completion, Job to Date Costs, Projected Cost To Complete, Forecast To Complete, Projected over Under, and Notes.
My Views: Select from any existing custom views created by your company.
Click Create.
On the 'New Forecasting View' page, configure the following:
Header & Setup Options
View Name. Enter a name for the view.
Description. Enter a description for the view.
Forecasting Column To Spread. Select which calculated column's value to spread out over the months you have assigned to each forecasting line item from the drop-down list.
 Actuals Column. Select a column from the drop-down list to determine how actual costs are factored into your forecasting spread.
 Note
Selecting a column updates the formula for the Remaining to Spread column in the forecasting view on the Budget tool's Forecasting page as follows:
Remaining to Spread = Forecasting Column To Spread - Sum of the Spread Values - Actuals Column
For example, if you select Job to Date Costs, the formula subtracts your job-to-date costs alongside any allocated spread values from the total forecast amount to determine the remaining balance.
 icon next to any column header to set a display name for this view.
  icon or press ENTER to find columns by name.
  icon to view only active columns.
  icon next to individual columns to show or hide them in the view. See