Create Saved Views in an Estimate
Background
Saved views help you organize and analyze estimate data efficiently. By saving custom layouts, including filters and dynamic grouping, you can switch between different data perspectives. Create personal views or share them with your project team and/or the entire company to keep cost analysis consistent across the Estimating tool.
Things to Consider
Required User Permissions:
‘Standard’ or ‘Admin’ level permissions on the project’s Estimating tool.
Additional Information:
Legacy View must be toggled OFF to use Saved Views.
Steps
Navigate to the Bid Board or Portfolio Planning tool and select the project.
OR
Navigate to the project's Estimating tool.Click the Estimating tab.
Click
 Views on the left side of your estimate.
Click + Create.
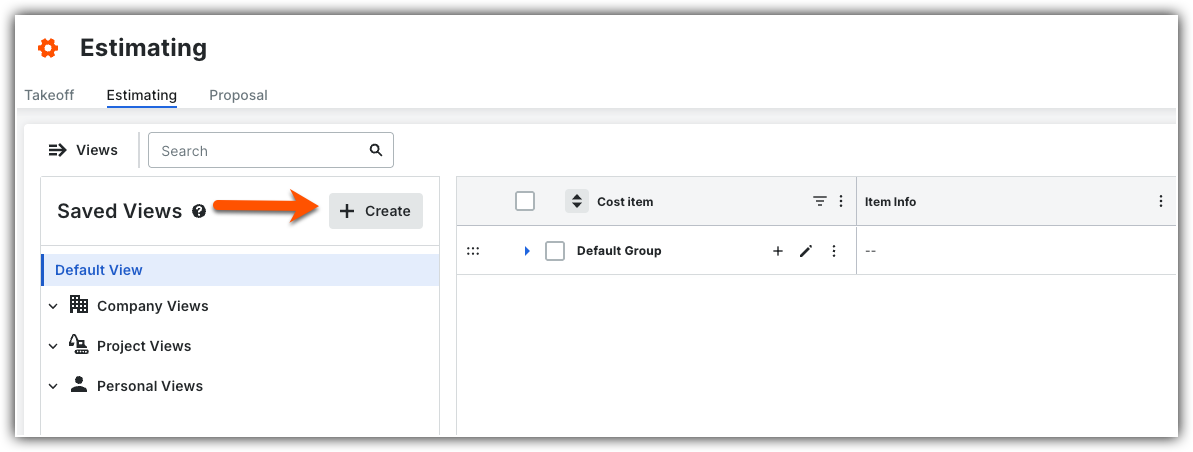
In the Create Saved View window, enter the following information:
Name*: Enter a descriptive name for the view.
Description: Enter additional details for the view.
View Level: Select the visibility level for the view:
Personal View: The view is only visible to you.
Project View: The view is visible to all users on the current project.
Company View: The view is available across all projects in the company account.
Select your new view from the 'Saved Views' menu.
Adjust the table layout or grouping on the estimate as needed.
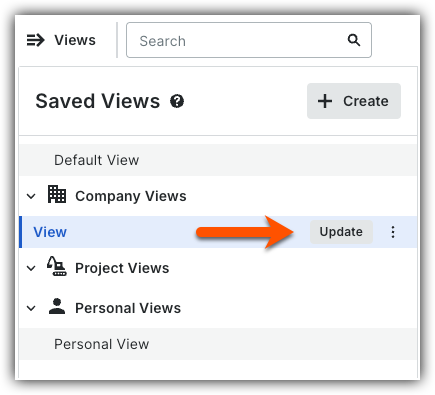
Note: You can close the Saved Views menu to give more space to make adjustments.Click Update next to the view name to save your changes.


See Also
Loading related articles...