Upload a Project Logo
Arrière-plan
Si votre projet de construction a un logo de projet qu’il souhaite afficher dans Procore, vous pouvez ajouter une copie de l’image du logo dans Procore lorsque celle-ci répond aux exigences de logo détaillées dans Éléments à prendre en compte ci-dessous. Le logo de votre projet apparaît dans le coin supérieur gauche de l’application Web Procore, ainsi que sur tous les formulaires, rapports, pages au niveau projet et la plupart des e-mails liés à votre entreprise. Il est important de noter qu’une fois que vous avez chargé un logo de projet dans Procore, la seule façon de le supprimer est de le remplacer par un autre logo.
Things to Consider
Required User Permissions:
'Admin' level permissions on the Project level Admin tool and 'Standard' level permissions or higher on the Project level Documents tool.
Logo Requirements:
Supported file formats: GIF, JPG, and PNG (Note: BMP and TIFF files are NOT supported).
Always resize your logo to 200 x 70 pixels (width x height) before uploading it. Most image editing programs provide users with the means to either resize and/or rescale your logo. See the Help system for your specific image editing program for more information.
Important! Procore will proportionally rescale any image that does NOT meet the stated size requirements. Depending on the dimensions of your original logo, not resizing your logo to meet the image requirements can result in mild or extreme image distortion after the upload.
Additional Information:
A project can only have one (1) project logo at any given time.
If you do not upload a project logo, Procore will display the current company logo throughout the project.
After you upload a project logo, the system will always require the project to maintain its own logo. For example, if you want your company logo to appear on the project, you must upload a copy of your company logo using the steps below. The project cannot revert back to display the current company logo in the Company level Admin tool (see Upload a Company Logo).
Limitations:
When uploading a project logo, take care to always upload the correct one and ensure that it meets the stated size requirements. Project logos can only be replaced (see Replace a Project Logo).
Steps
Upload a Project Logo
Navigate to the Project level Admin tool.
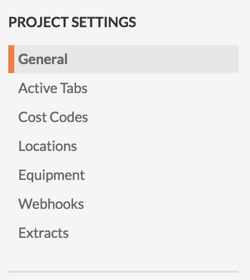
Under 'Project Settings', make sure General is selected.
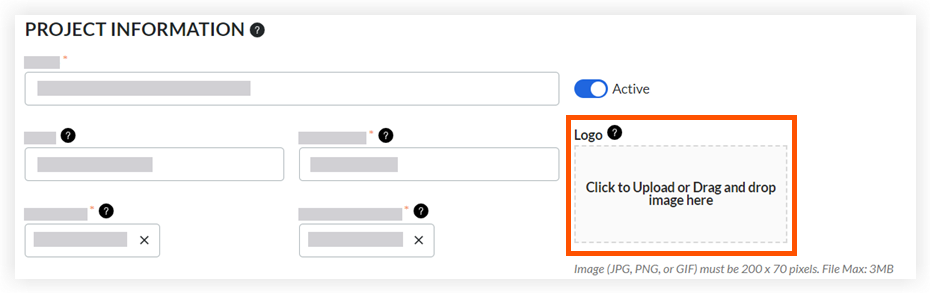
In the 'Project Information' section, upload the file for the logo by clicking the space below Logo or by dragging and dropping the file from your computer into the space.
Notes:
For best results, always resize the logo image to 200 x 70 pixels (width x height) and save it in the GIF, JPG, or PNG format before you upload it.
To resize your logo image, open the logo file in a raster-based image editor (i.e. Paint, Paint.NET, Photoshop, etc.). Next, save a copy of the logo as an image file to your computer. Then adjust the image size to 200 x 70 pixels.
Scroll to the bottom of the page and click Update.
The system updates the logo so it appears on the project's navigation bar.

Replace a Project Logo
If you want to replace a project's logo, follow the steps in Upload a Project Logo above. This permanently removes the previous logo from the system. It is important to note that the removed file is not recoverable.
See Also
Loading related articles...