Configurer votre signature d’e-mail sortant dans l’outil E-mails
Arrière-plan
Pour personnaliser la signature des e-mails que vous envoyez depuis Procore, vous devrez l’ajouter à votre page « Paramètres de mon profil ». Les modifications que vous apportez en suivant les étapes ci-dessous affecteront les signatures de tous les e-mails que vous envoyez à partir des outils de Procore.
Éléments à prendre en compte
Autorisations utilisateur requises :
Autorisations de niveau « Lecture seule » ou supérieures dans l’outil Accueil du projet.
Informations complémentaires :
Votre signature d’e-mail sera appliquée à tout e-mail que vous envoyez depuis les outils de Procore.
Escalier
Connectez-vous à l’application web Procore. Voir Se connecter à Procore Web.
Cliquez sur votre nom dans le coin supérieur droit du programme et choisissez Paramètres de mon profil.
Dans l’onglet Personnel , faites défiler jusqu’à la case Signature d’e-mail .
Note
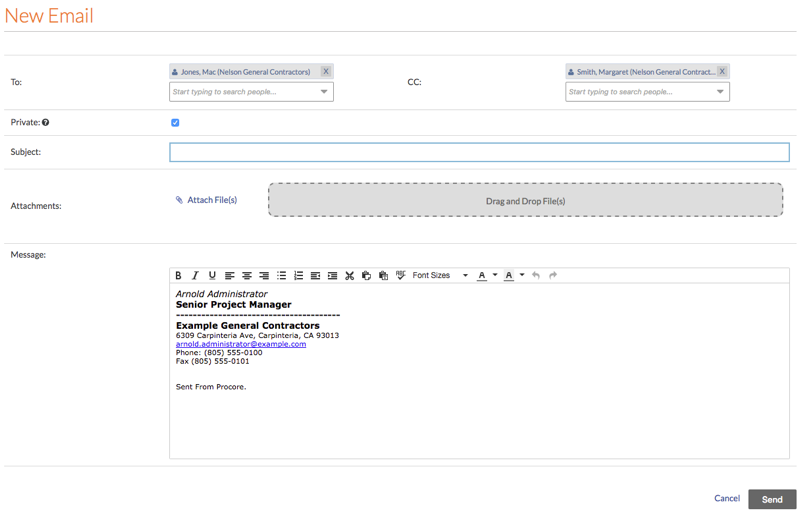
By default, the phrase 'Sent From Procore.' appears in the box. It is recommended that you leave that text in your signature as shown below, so the messages recipients reading your message will be able to quickly see that the email was sent from Procore.
Dans la case Signature d’e-mail , créez et formatez votre signature électronique.
Cliquez sur Mettre à jour.
Note: Cela permet d’enregistrer votre signature électronique. Désormais, lorsque vous créez un nouvel e-mail à partir de l’outil E-mails ou d’autres outils de Procore, votre signature apparaît automatiquement dans le nouveau message, comme indiqué ci-dessous :