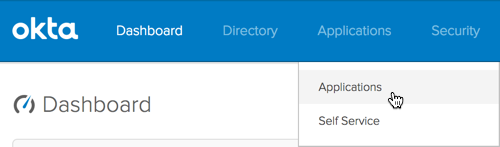
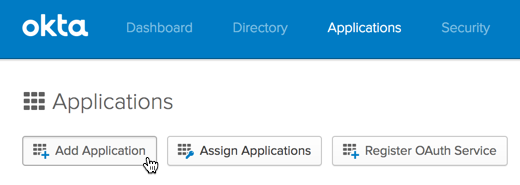
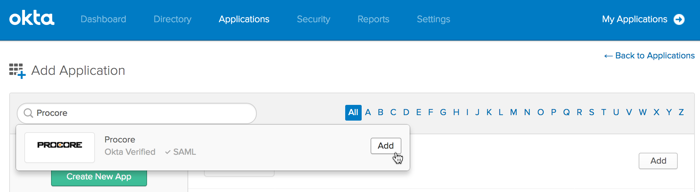
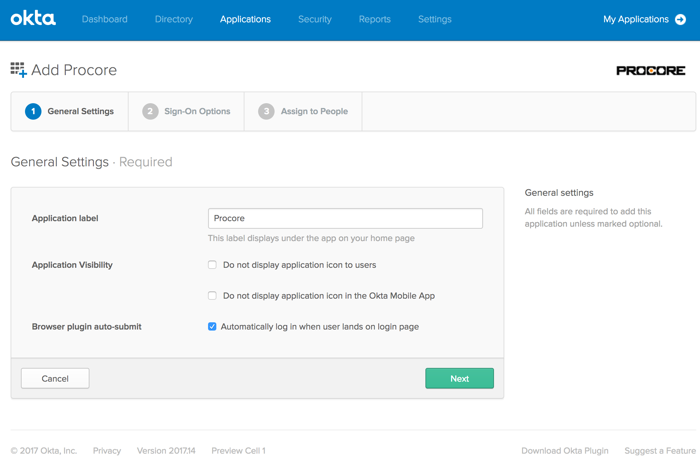
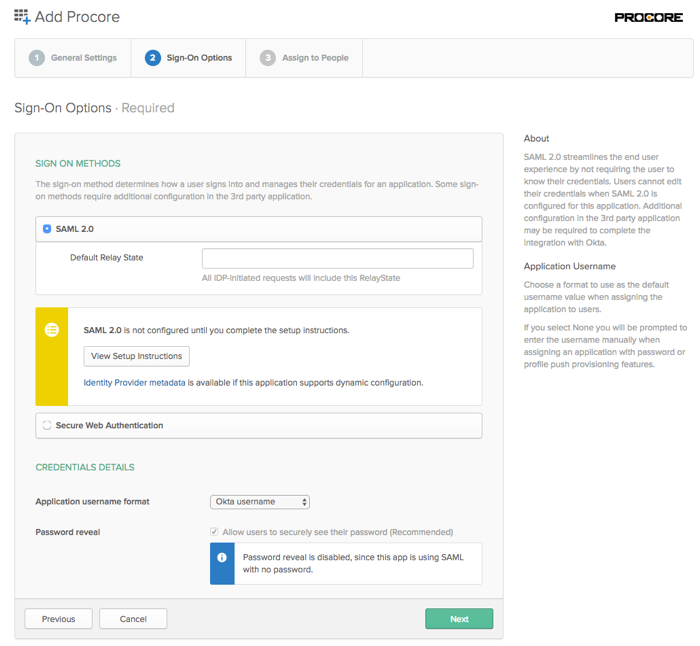
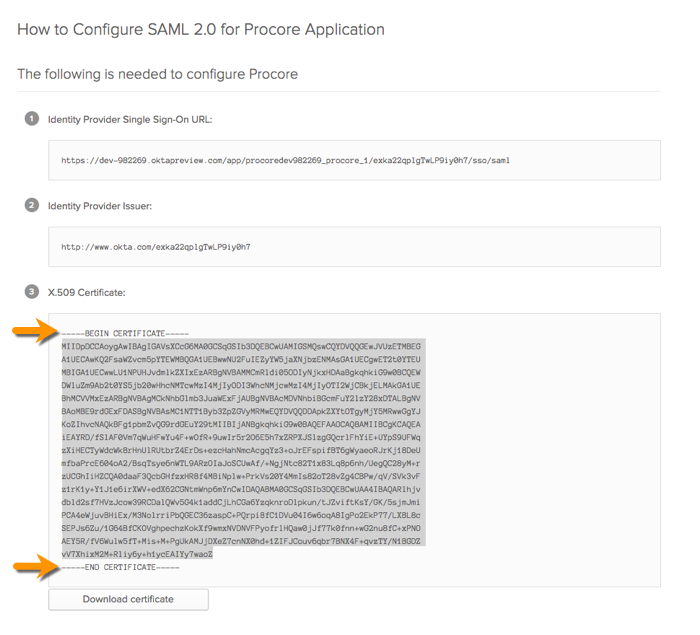
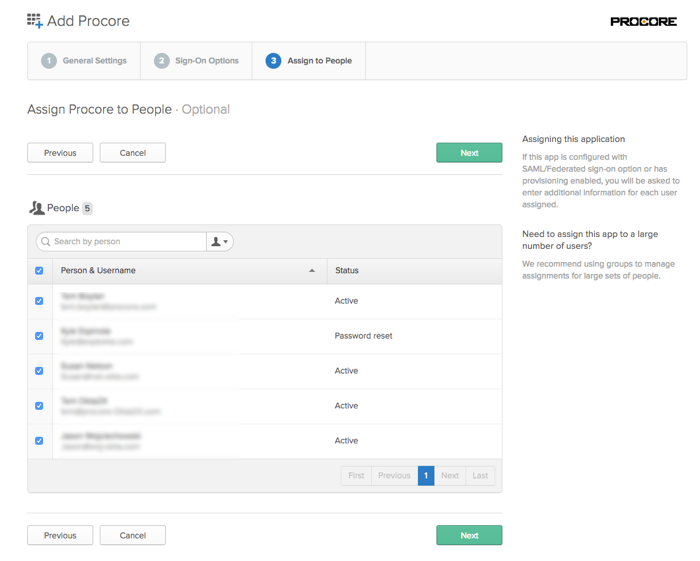
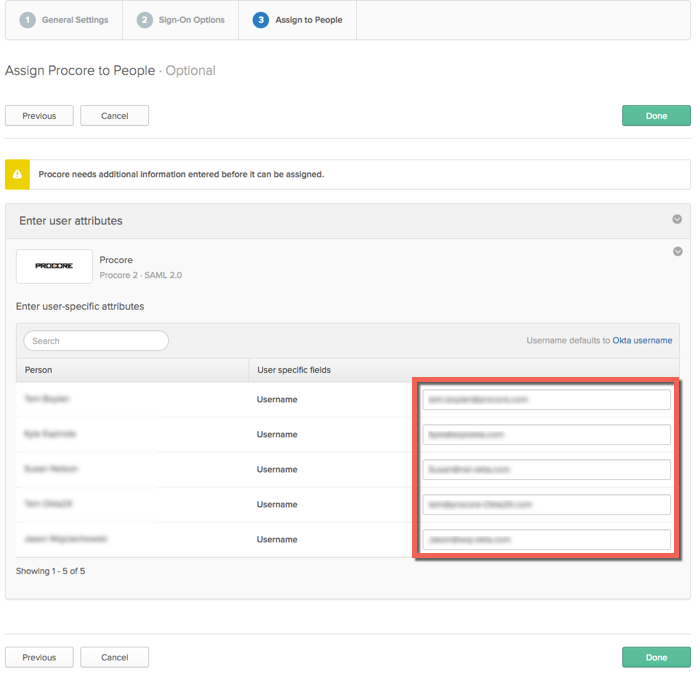
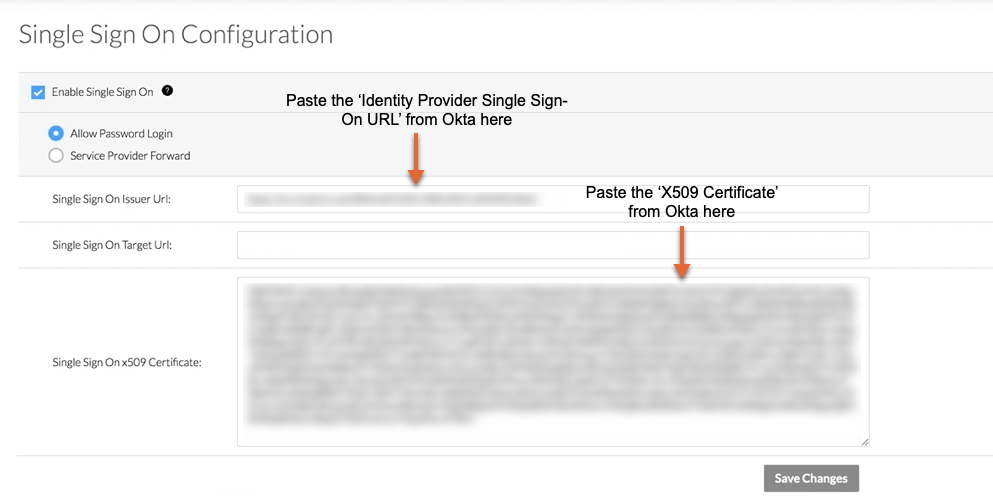
Configure Procore for IdP-Initated Okta SSO

 Note

If your organization is using the Portfolio Financials and Capital Planning products in Procore, you will need to reach out to your Procore point of contact or the Support team to set up your Okta SSO.

Fond

Si votre entreprise souhaite configurer l’authentification unique avec Okta, vous pouvez tirer parti de l’une des solutions d’authentification unique prises en charge par Procore :

  • SSO initiée par le fournisseur d’identité (initiée par l’IdP). Avec cette option, vos utilisateurs finaux doivent se connecter à la page authentification unique de votre fournisseur d’identité (par exemple, Azure AD ou Okta), puis cliquer sur une icône pour se connecter et ouvrir l’application web Procore. Pour configurer cette solution, reportez-vous aux étapes ci-dessous.
    OU

  • SSO initiée par le fournisseur de services (initiée par le fournisseur de services). Appelée authentification unique initiée par Procore, cette option permet à vos utilisateurs finaux de se connecter à la page de connexion Procore, puis d’envoyer une demande d’autorisation à l’IdP. Une fois que l’IdP a authentifié l’identité de l’utilisateur, celui-ci est connecté à Procore. Pour configurer cette solution avec Okta, consultez Configurer la SSO initiée par Procore pour Okta.

Éléments à prendre en compte

  • Autorisations requises:

    • Autorisations d’administrateur sur Okta
      ET

    • Autorisations de niveau « Admin » dans l’outil Admin au niveau entreprise de Procore.

  • Protocole d’authentification pris en charge:

    • Langage de balisage d’assertion de sécurité (SAML 2.0)

  • Limites:

    • Le provisionnement juste à temps (JAT) n’est PAS pris en charge.

Réutilisation de contenu SSO

 Optional - Unique Entity ID

When configuring SSO for a single Procore instance, you should NOT check this box.

If your company licenses more than one Procore instance, and you want to configure unique Procore enterprise applications within your IdP tenant for each instance, you can by enabling Unique Entity ID. If enabled, you are still limited to one (1) enterprise application per Procore company instance.

Important: SSO for Procore targets users by email domain. An email domain can only be targeted once in all of Procore, so if you're considering setting up SSO with Unique Entity IDs across multiple Procore instances, remember that you can only target an email domain once, in a single instance.

To generate a Unique Entity ID for an enterprise application, check the Enable Unique Entity ID box in the Procore Admin tool's SSO configuration page for the Procore instance you want to specify on an enterprise application. Checking this box will generate a unique Entity ID URL in the field below, which you will then copy and paste into the appropriate Entity ID field in your IdP's configuration page.

Notes: You must save your configuration with the box checked to generate the Unique Entity ID. Enabling this feature does not impact user membership or access to a given instance. Access to a company in Procore is determined by a user's presence in the Directory tool, and their configured permissions within Procore. Auto-provisioning with SSO is not supported at this time.

Sso Unique Entity Id

Escalier

Étape 1 : ajouter l’application Procore à Okta

  1. Log in to Okta as an Administrator.

  2. Click Admin.

    Okta Click Admin

  3. Choose Applications > Applications.

    Okta Apps Apps

  4. Click Add Application.

    Okta Add App

  5. In the Search for an Application box, search for Procore. When Procore's Okta-Verified SAML app appears, click Add.

    Okta Search For Procore

  6. Under General Settings, do the following:

    • Application Label. Type a name for the new application. For example, type: Procore

    • Application Visibility. Leave both of these checkboxes blank. This will allow the Procore icon to appear in Okta and on the Okta login page. If you place a checkmark in this box, the logo with NOT appear.

    • Browser Plugin Auto-Submit. Ensure a checkmark appears in this box.

      Okta Applicaton Label

  7. Click Next.

    Okta Sign On Options

  8. Click View Setup Instructions.
    This opens the Setup SSO page in a new web browser tab. Leave this page open in your browser. Later, you will need to copy information in this page when you configure the Okta SSO settings in the Procore web application.
    Important! When copying the X.509 Certificate string, do NOT copy the "------------BEGIN CERTIFICATE------------" and "------------END CERTIFICATE------------" markers. Only copy the text that resides between these markers.
    Okta Copy Certificate

  9. Return to your open browser tab with Okta's Sign On page, as shown below. Then ensure that Okta Username is selected in the Application Username Format list.

    Okta Sign On Options

  10. Click Next.

  11. Place a checkmark next to the name of your organization's Procore users in the People list.

    Okta Assign Procore To People

  12. Click Next.

  13. Verify that the attribute settings are correct for all of your Procore users. This Otka username is an email address. This is the address that you Procore users will use to log in to your Procore + Okta SSO Integration.

    Okta End User Attributes

  14. Click Done.

  15. Continue with the next procedure.

Étape 2 : Configurer les paramètres Okta dans Procore

  1. Connectez-vous à l’application Web Procore.
    Remarque: vous devez vous connecter à l’aide d’un compte disposant de l’autorisation « Admin » dans l’outil Admin de l’entreprise.

  2. Accédez à l’outil Admin de l’entreprise.

  3. Sous Paramètres administratifs, cliquez sur Configuration à authentification unique.

  4. Saisissez les informations suivantes :

    • URL de l’émetteur de l’authentification unique
      collez dans ce champ l’URL d’authentification unique du fournisseur d’identité que vous avez copiée depuis Okta.

    • URL cible d’authentification unique.
      Laissez ce champ vide.

    • Authentification unique x509
      collez dans ce champ le « Certificat X509 » que vous avez copié depuis Okta.
      Important: lorsque vous copiez les informations de certificat à partir d’Okta, ne copiez PAS les marqueurs « ------------ DÉBUT DU CERTIFICAT ------------ » et « ------------ FIN DU CERTIFICAT ------------ ». Vous ne souhaitez copier que le texte qui se trouve entre ces marqueurs. Okta Sso Idp Configuration Settings


  5. Cliquez sur Enregistrer les modifications.

  6. Ensuite, contactez le point de contact Procore de votre entreprise ou le support technique Procore pour lui demander de saisir les domaines que vous souhaitez cibler pour l’authentification via authentification unique. Procore doit saisir ces domaines en votre nom.

  7. Une fois que le(s) domaine(s) ont été saisi(s) par Procore, suivez les dernières étapes pour activer l’authentification unique pour votre entreprise :

    1. Cochez la case Activer l’authentification unique dans les paramètres de configuration SSO de Procore.

    2. Sélectionnez Autoriser la connexion par mot de passe pour activer un flux initié par l’IdP.

    3. Cliquez sur Enregistrer.

L’authentification via la méthode SSO configurée devient active immédiatement après l’enregistrement de la configuration finale terminée.

 Note

Customers who license Procore Pay may require additional support enabling MFA for Payments when SSO is configured for their company. If you license Procore Pay and want to enable SSO, contact Support.

Voir aussi

See Also

Loading related articles...