Connect to Fabric Lakehouse Using Fabric Notebooks
Overview
Using Data Factory in Microsoft Fabric with Delta Sharing enables seamless integration and processing of shared Delta tables as part of your analytics workflows with Analytics 2.0. Delta Sharing is an open protocol for secure data sharing, allowing collaboration across organizations without duplicating data.
This guide walks you through the steps to set up and use Data Factory in Fabric with Delta Sharing, utilizing Notebooks for processing and exporting data to a Lakehouse.
Prerequisites
Analytics 2.0 SKU
Delta Sharing Credentials:
Access to Delta Sharing credentials provided by a data provider.
A sharing profile file (config.share) containing:
Endpoint URL (Delta Sharing Server URL).
Access Token (Bearer token for secure data access).
Create your config.yaml file with specific credentials using the template below:
{"shareCredentialsVersion": 1,"endpoint": "your-delta-sharing-server-url","bearerToken": "your-master-token"}
Microsoft Fabric Environment:
A Microsoft Fabric tenant account with an active subscription.
A Fabric-enabled Workspace.
Packages and Scripts:
Download the fabric-lakehouse package. The directory should include:
ds_to_lakehouse.py: Notebook code.
readme.md: Instructions.
Note: You can download the zipped package from the company level Analytics tool (via Analytics > Getting Started > Connection Options > Azure).
Steps
Set Up Configuration
Set Up Your Lakehouse
Validation
Set Up Configuration
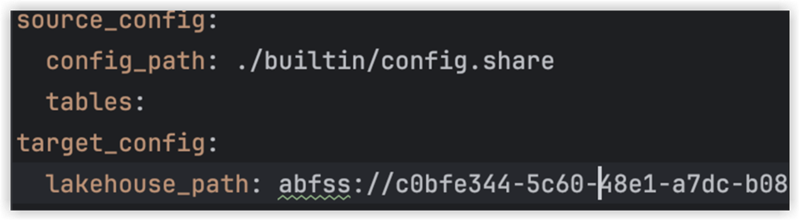
Create the config.yaml file and define the configuration in the following structure:
source_config:
config_path: path/to/your/delta-sharing-credentials-file.share
tables: # Optional - Leave empty to process all tables
- table_name1
- table_name2
target_config:
lakehouse_path: path/to/your/fabric/lakehouse/Tables/ # Path to the Fabric Lakehouse
Set Up Your Lakehouse
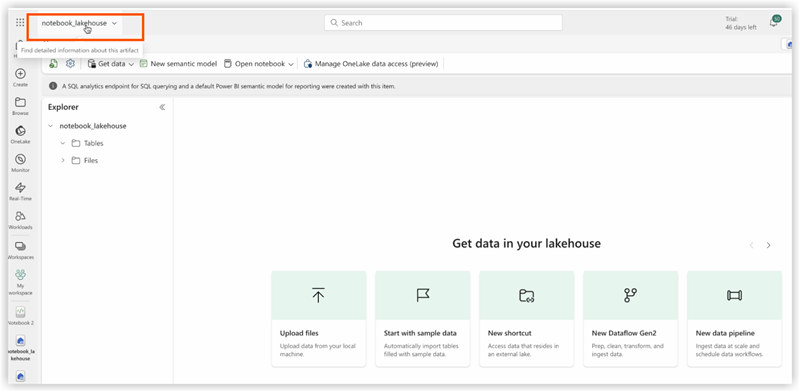
Open your Microsoft Fabric workspace.
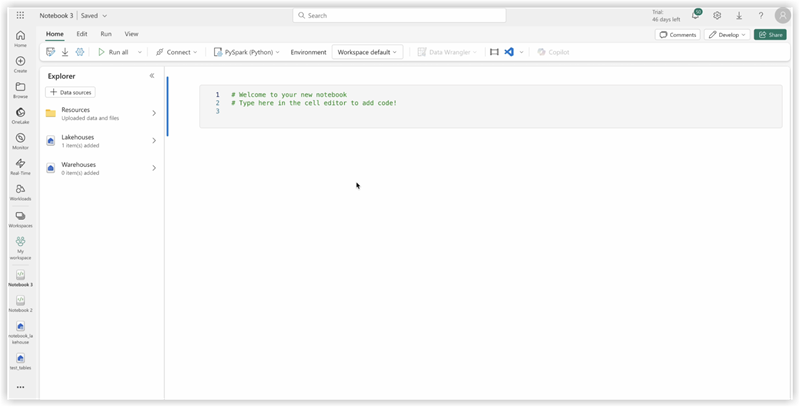
Navigate to your Lakehouse and click Open Notebook, then New Notebook.
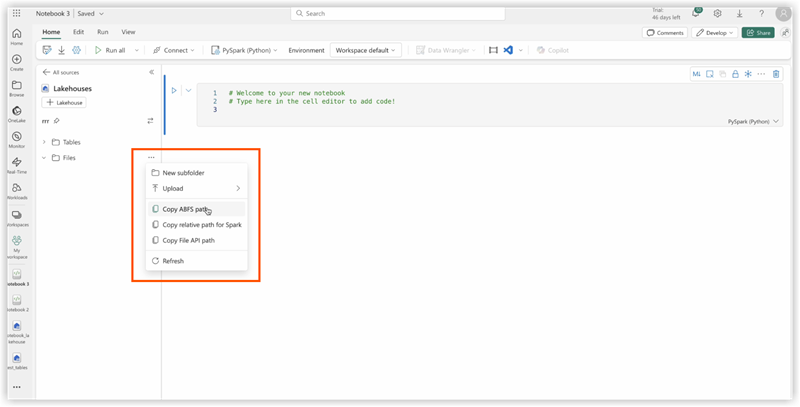
If you don’t know the value in config.yaml#lakehouse_path, you can copy it from the screen.
Click the the ellipsis on Files, and select Copy ABFS path:
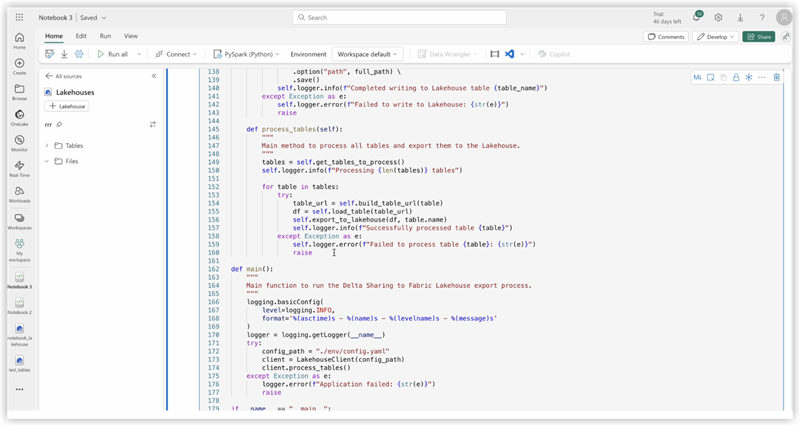
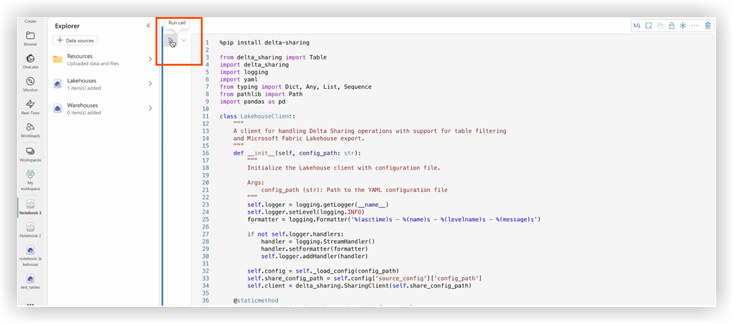
3. Copy code of ds_to_lakehouse.py and paste into notebook window (Pyspark Python):
The next step is to upload your own config.yaml and config.share into the Resources folder of the Lakehouse. You can create your own directory or use a builtin directory (already created for resources by Lakehouse):
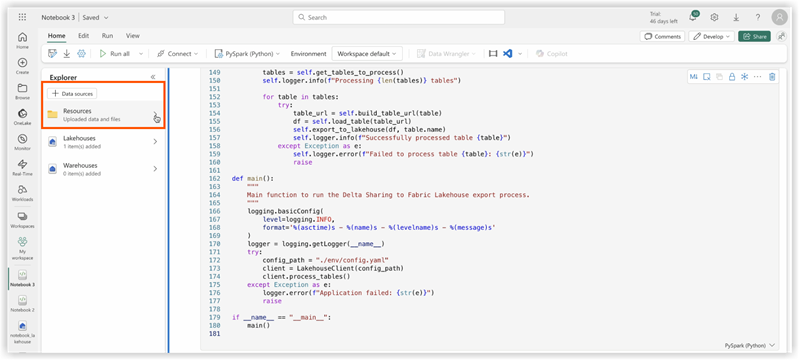
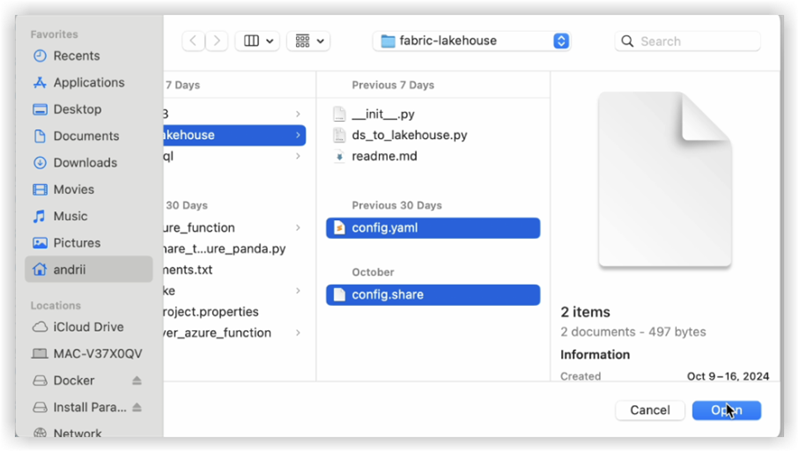
The example below shows a standard builtin directory for a config.yaml file .
Note: Make sure you upload both files on the same level and for the property config_path:<<<
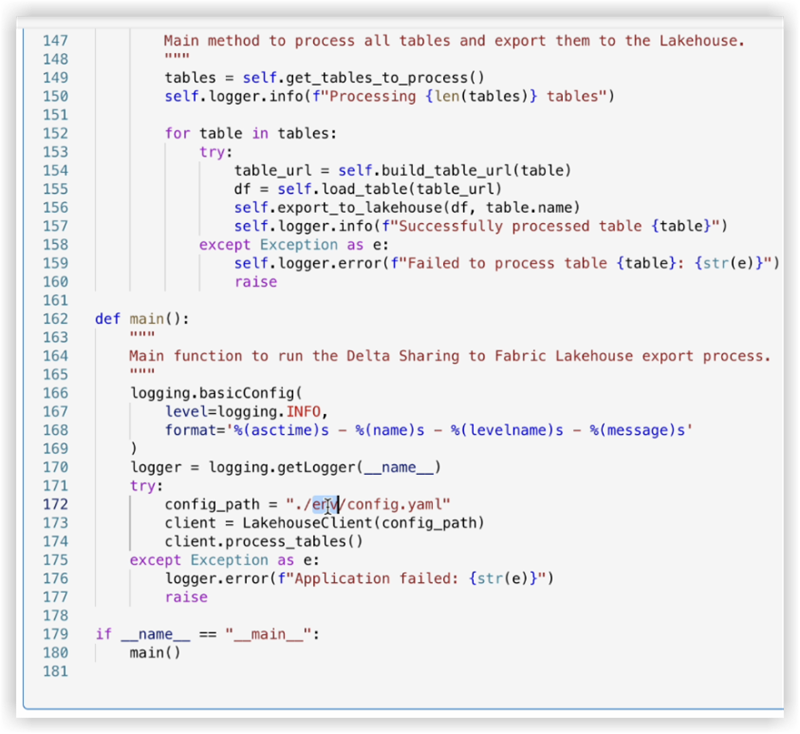
4. Check the code of the notebook, lines 170-175.
The example below shows the necessary line changes:
config_path = "./env/config.yaml"
to
config_path = "./builtin/config.yaml"
Since the files are in a builtin folder and not in a custom env, make sure to monitor your own structure of the files. You can upload them into different folders, but in such cases, update the code of the notebook to find config.yaml file properly.
5. Click Run cell:
Validation
Once the job completes, verify the data has been copied successfully to your Lakehouse.
Check the specified tables and ensure the data matches the shared Delta tables.
Wait until the job is finished, it should copy all the data.