Apply Configurable Fieldsets to Projects
バックグラウンド
構成可能なフィールドのセットは、会社のニーズに応じて、オプション、必須、または非表示に設定できる特定の Procore ツールのフィールドのグループです。これにより、ユーザーが Procore プロジェクトで案件を作成、編集する際のデータ入力をより適切に制御できるようになります。「 構成可能なフィールドのセットとは何ですか? どの Procore ツールがそれらをサポートしていますか?」を参照してください。
Things to Consider
Fieldsets apply to new projects by default, but you can also choose to update existing ones.
Applying a configurable fieldset to an existing project may impact any new or existing items created or updated using the fieldset, including any changes made to field requirements or custom fields.
If you want to configure fieldsets for specific tools, see What are configurable fieldsets and which Procore tools support them?
前提 条件
See Create New Configurable Fieldsets OR click here to view the steps.
Navigate to the Company level Admin tool.
Under 'Tool Settings', click the tool you want to create configurable fieldsets for.
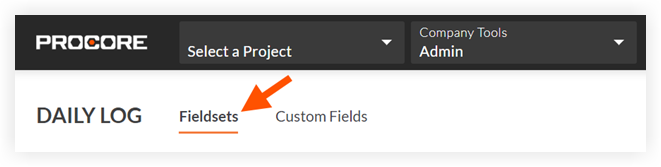
Click the Fieldsets tab.
Note: Tools without other settings in the Company level Admin tool will open to this page automatically.Click Create Fieldset and if required, select the fieldset type.
Enter a name for the fieldset, then click Create.
On the 'Edit Fieldset' page, each field name has the following options:
Do one of the following:
Click the toggle to the ON
 position to make the field visible in the section.
 Click the toggle to the OFF
 position to hide the field in the section.
Note: A faded toggle icon indicates that the field is visible and cannot be changed to hidden.
Do one of the following:
Mark the 'Required' checkbox to designate the field as required.
Clear the 'Required' checkbox to designate the field as optional. Notes:
Optional: If available, click Create Section to create a new section. See Create Custom Sections.
Click Save.
In the 'Apply changes to [#] project(s)?' window, click Assign Projects to add the fieldset to projects.
In the 'Assign Projects' window, mark the checkbox next to each project you want to apply the fieldset to and click Update.
In the 'Apply changes to [#] project(s)?' window, click Confirm.
Optional: To set a fieldset as the default for new projects, click the
 icon at the end of its row on the 'Fieldsets' tab and select Set as New Project Default.
 Note
Projects created from a project template that includes fieldsets will inherit the fieldsets from the project template instead of your company's default fieldsets. See Configure a Project Template.