Navigate 3D Models Using 2D Drawings
Navigating complex 3D models can be difficult. Use the 2D drawing view as a powerful map to find your way. Just open a 2D plan, place a marker, and instantly jump to that exact spot in the 3D model. This saves you time and makes finding a specific location fast and easy.
Things to Consider
Prerequisites
Confirm that at least one model is fully processed and available in the Models tool.
Verify that the relevant 2D sheet is uploaded and linked to the active 3D coordination environment.
Steps
Navigate to the project's Models tool.
Locate the desired model tile on the main page.
Click the model tile to open it in the viewer.
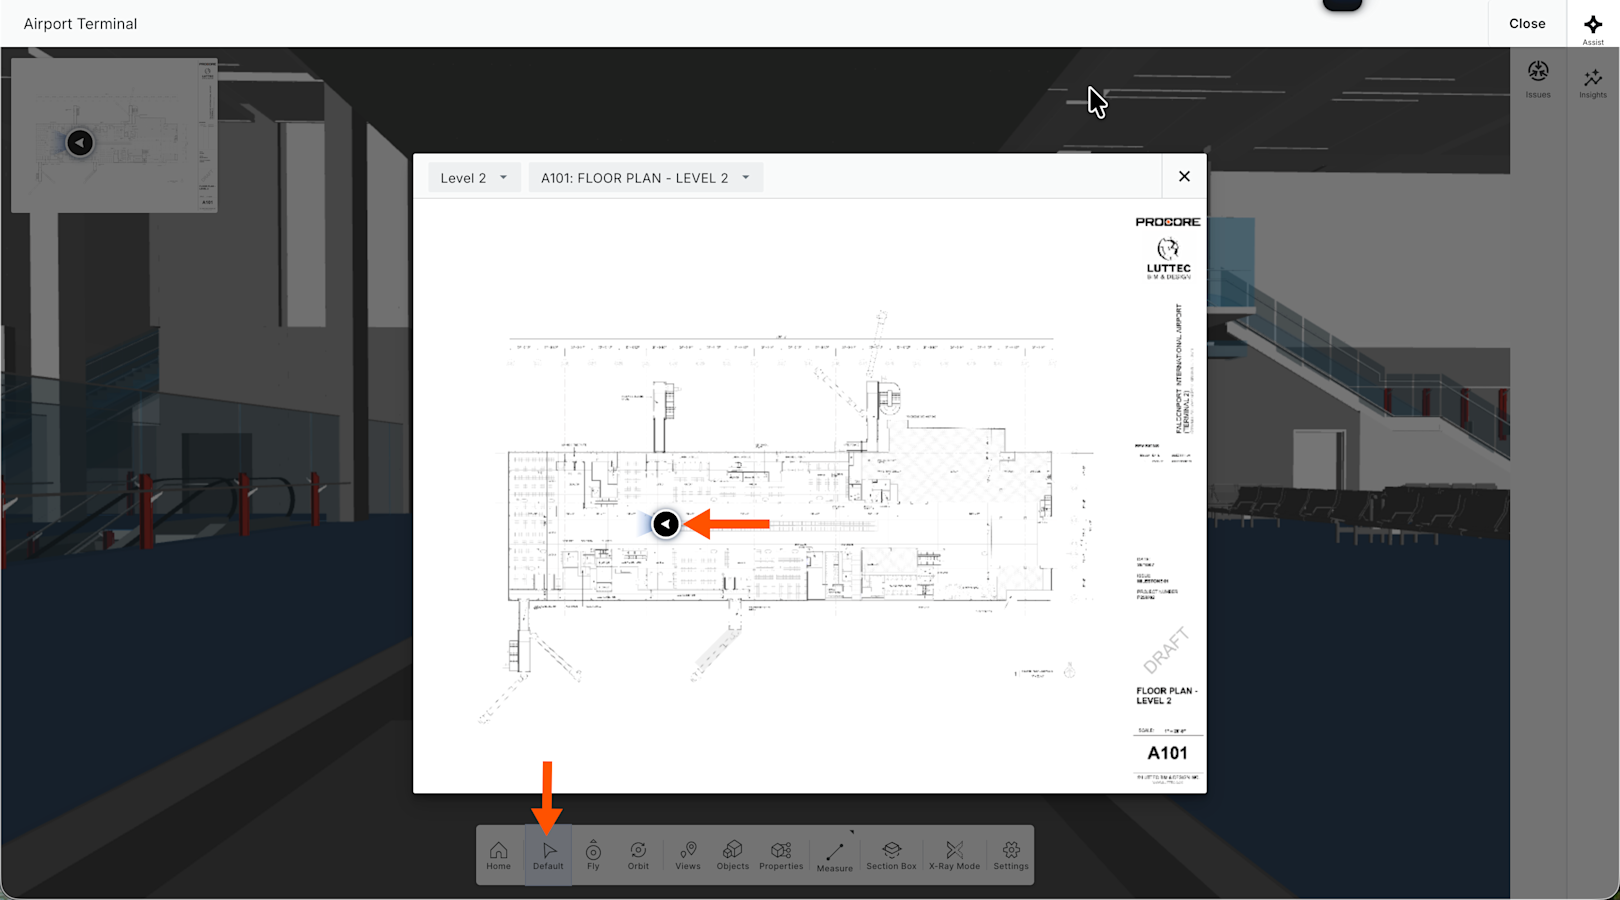
Click the Default
 icon on the toolbar. Ensuring Default is the active tool selection permits drawing interaction.
Click the 2D drawing thumbnail in the top-left corner of the interface to overlay the drawing sheet on top of the 3D model environment.
Click the 2D drawing layout at your desired coordination location to place a navigation marker.
Rotate your cursor to set the target viewing direction for the marker.
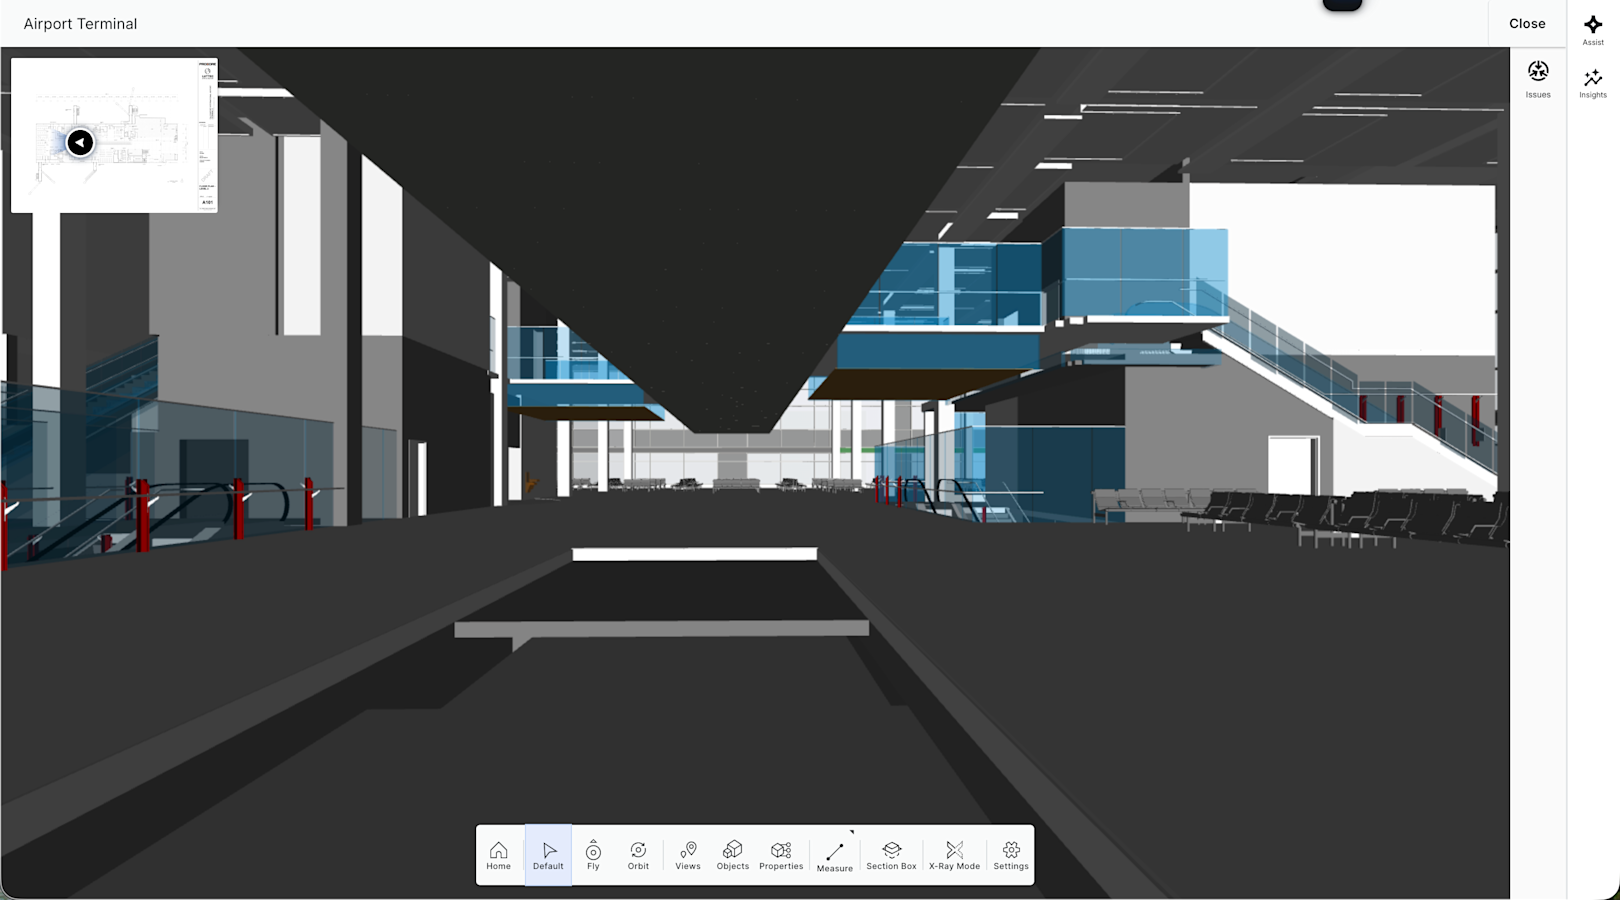
Double-click the placed marker to jump directly to that exact spatial location within the 3D model facing your selected viewing direction.
See Also
Loading related articles...