Create Subcontracts
Background
Subcontracts can be awarded during both the preconstruction and construction phases of a project and are typically created and tracked in Procore by project management. After a prime contract award, the project manager creates purchase orders and subcontracts for specific trades to secure materials and subcontractor services for a project.
Things to Consider
Required User Permissions:
To create a subcontract and see/enter data on the Schedule of Values (SOV) tab:
Admin level permissions on the project's Commitments tool.
Standard level permissions on the project's Commitments tool and the Allow Users to See SOV Items setting must be enabled and your name must be selected in the Select a Person drop-down list.
To create a subcontract only, Read Only or Standard level permissions on the project's Commitments tool with the 'Create Work Order Contract' granular permission enabled on your permissions template.
Additional Information:
An alternative way to create a subcontract is to award a winning bid and convert it into a subcontract. See Award a Winning Bid and Convert it into a Subcontract.
To set the accounting method for the subcontract, see How do I set the accounting method for a contract or funding?
After creating a subcontract, you have these options for creating change orders:
If your subcontract is configured for 1-Tier Change Orders. Continue with Create a Commitment Change Order.
If your subcontract is configured for 2-Tier Change Orders. Ensure the subcontract is in the 'Approved' status and continue with Create a Commitment Potential Change Order from a Change Event.
If your subcontract is configured for 3-Tier Change Orders. Ensure the subcontract is in the 'Approved' status and continue with Create a Commitment Potential Change Order from a Change Event.
For companies using the
 ERP Integrations tool: Prerequisites, requirements, limitations, and specific considerations may be applicable, depending on the particular ERP system integrated with your Procore account.
Prerequisites
To use the Procore + DocuSign® integration to request signatures, see DocuSign®.
Steps
Navigate to the project's Commitments tool.
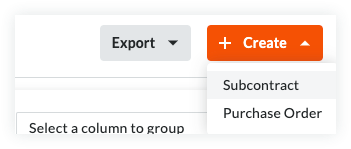
On the Contracts tab, click the Create button and choose Subcontract from the drop-down list.
Continue with the next steps:
Add the Basic Information
Update the General Information
Update the Contract Access
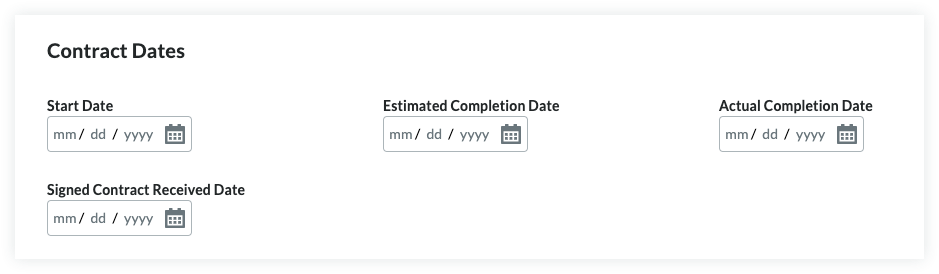
Update the Contract Dates
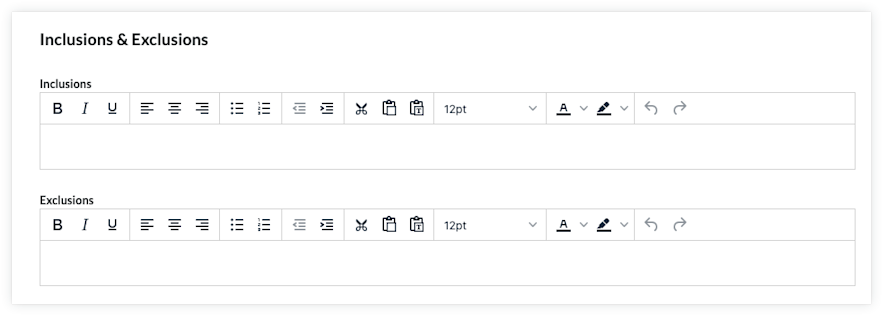
Add the Scope of Work
Set the Accounting Method
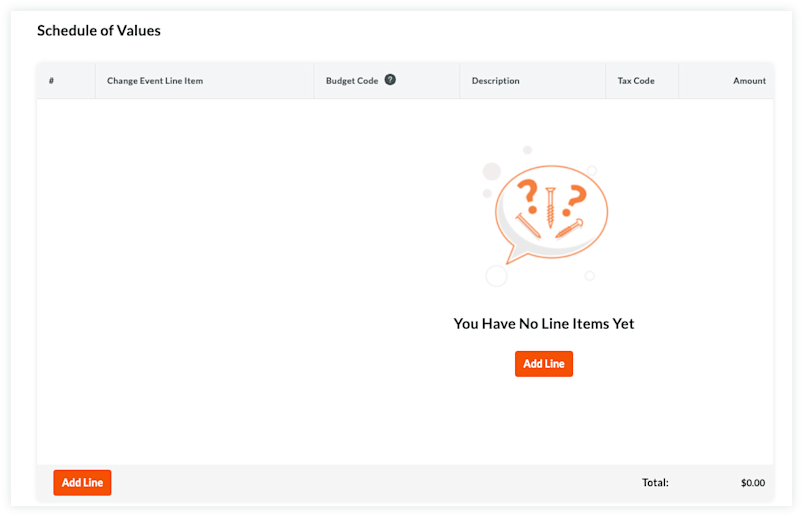
Update the Schedule of Values
Add Line Items to the Schedule of Values
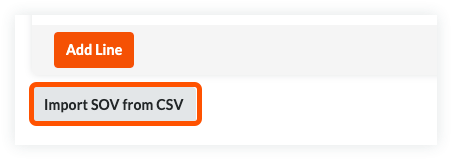
Import Line Items to the Schedule of Values from a CSV File
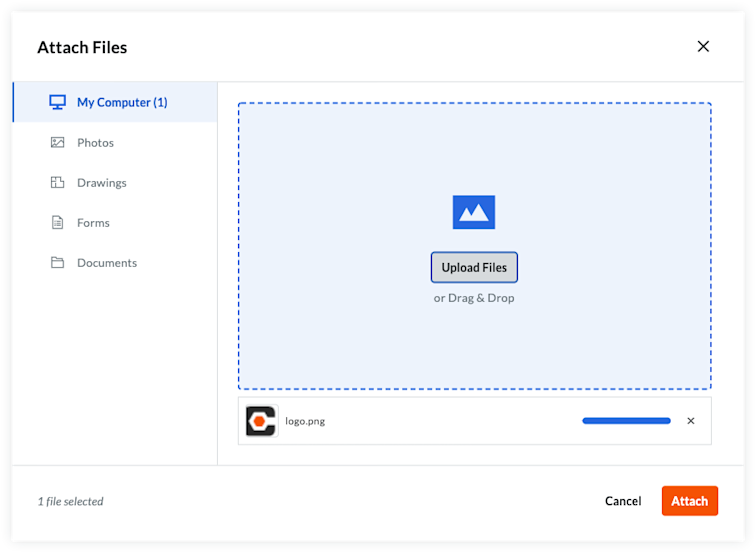
Attach Files
Save the Contract
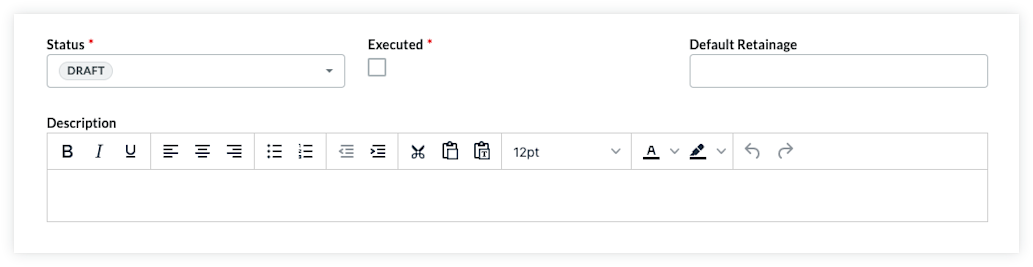
Add the Basic Information
Update the basic information as follows:

Notes
There are no required fields when adding the basic information.
If you click the Create button without completing any data entry, Procore saves the contract, lists you as the creator, and automatically places it in the Draft status.
Contract Number
To number your contract(s), choose from these options:If you number your contracts using a sequential numbering system, you can enter any combination of alpha-numeric characters in this box. For subsequent contracts, Procore automatically applies consecutive numbering in ascending order.
Example
The examples below show you how Procore's ascending consecutive numbering works:
If the previous contract was 1, the next contracts are 2, 3, and so on.
If the previous contract was PC-0001, the next contracts are PC-0002, PC-0003, and so on.
If the previous contract was DCA00010-12-G-0001, the next contracts are DCA00010-12-G-0002, DCA00010-12-G-0003, and so on.
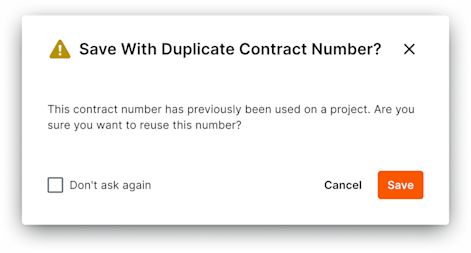 If the Contract # of the commitment you are creating has been previously used on any project within your company, a confirmation window will appear to ask how you would like to proceed. If you choose to ignore this message, click Save and the contract will be created. Additionally, if you do not want to receive this message when creating future commitments, you may check the box next to the text Don'at as again.