The Commitments tool is configured with the one (1) tier change order configuration setting. Follow these steps instead: Create a Commitment Change Order.
Additional Information:
After a change order is approved, the next step depends on the Commitments tool's change order configuration setting:
To create a change order for a commitment, the commitment must be in the 'Approved' status.
If your company is using the ERP Integrations tool: Show/Hide
Additional considerations, requirements, and limitations can apply depending on the ERP system your account is integrated with. See Things to Know About your ERP Integration for details.
Locate the commitment contract to work with. Then click its Number link.
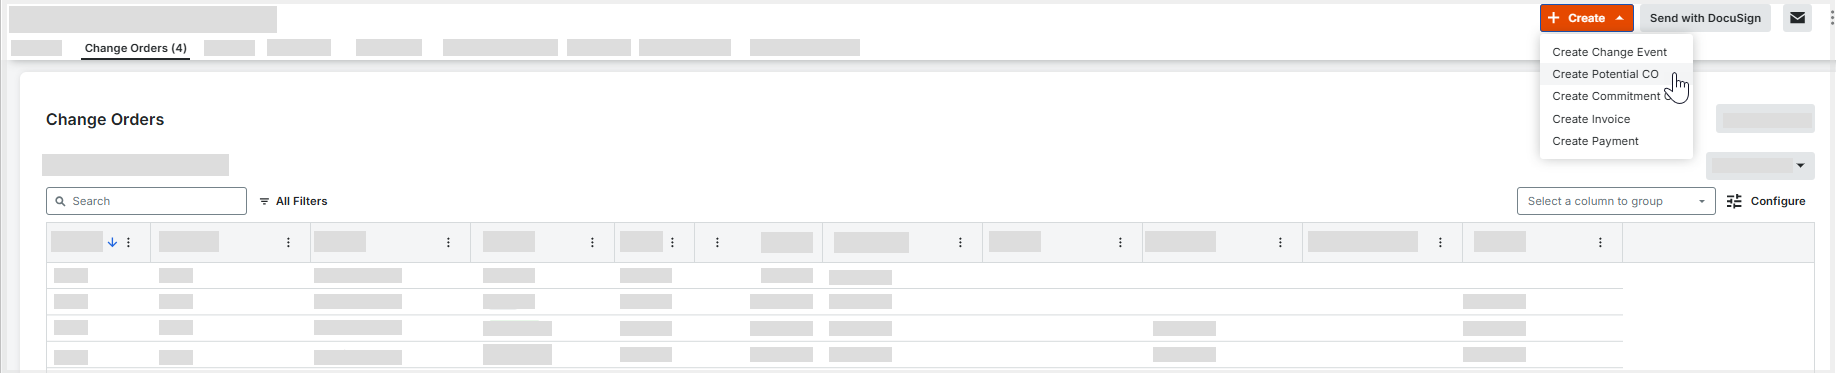
Click the Change Orders tab.
Click Create Potential CO.
Complete the following fields:
Sign with DocuSign® Mark this check box to route the Potential Change Order for signature via the Procore + DocuSign® integration. This allows you to collect signatures directly from Procore without exporting the document.
How do you collect signatures with DocuSign? After the data entry for the item is complete, Procore recommends changing the item's status to 'Out for Signature' before clicking the Complete with DocuSign button to launch the DocuSign® application. If you have not previously signed in, you will be prompted to Log In to DocuSign®. Once you are signed in, you can prepare the DocuSign_®_ envelope for signatures. After the signature process is complete, Procore automatically changes the status of the item to 'Approved' and marks the item as 'Executed'. To learn more, see DocuSign®.
Number Accept the default number, enter a new number, or create a custom numbering scheme.
Revision Shows the revision number. The first version is zero (0), subsequent revisions are assigned in sequential order. A PCO might have several revisions, depending on its reviewer/approver feedback.
Date Created Shows the creation date and time. This value cannot be changed.
Contract If you have been assigned access permissions to the Commitments tool, click this link to open the contract.
Reference Add any other important tools, materials, drawings, or documents to use as a reference for the PCO.
Contract Company Shows the name of the company responsible for performing the work on the contract.
Private Mark this checkbox if you only want the PCO to be visible to users with 'Admin' permissions on the Commitments tool.
Created By Shows the Procore user who created the PCO. This value cannot be changed.
Executed Mark this checkbox to set the PCO status to Executed and apply its financial values to your budget and commitment logs.
Signed Change Order Received Date Select the date when the fully signed change order document was received back from all signing parties.
Designated Reviewer Select the Procore user assigned to review, evaluate, and process the PCO.
Change Reason Select the reason for the PCO, either Client Request, Design Development, Allowance, Existing Condition, Back Charge, or any additional options created for your specific environment by your company's Procore Administrator. See Set the Default Change Management Configurations.
Location Use this drop-down list to select a location related to the PCO. You can select an existing location or Add a Multi-tiered Location to an Item.
Schedule Impact If known, provide an estimate for the additional number of days required to complete work when the PCO is approved.
In Beta
Note to users participating in the 'Subcontractor Estimated Completion' limited release beta program. When a user places a change order in the 'Approved' status and it includes a value in 'Schedule Impact' field of the change order, Procore automatically updates the 'Estimated Completion Date' field in the commitment contract by the number of days entered.
Field Change Check this box if the PCO requires a field change.
Paid in Full Check this box to indicate you have received payment for this change.
Paid Date Select or view the date when the payment for the item was actually issued or completed.
Amount Enter the total value associated with the line item, change order, or invoice.
Request Received From Select the Procore user for whom you are submitting the PCO.
Description Enter a more detailed description of the reason for the PCO.
All cost codes related to the sub-jobs will appear in the following field.
For contracts using the Amount Based accounting method:
Change Event Line Item If you have change events enabled, you can select a change event line item if the commitment needs to be linked to a change event.
Description Enter a description for the line item. For example, type: Monthly Service Fee
Amount Enter the amount of the cost.
Billed to Date The system automatically calculates the amount billed on the commitment up to the current date.
Amount Remaining Enter the amount that has NOT been billed to the current date.
Tax Code Enter a tax code to use for this line item. This field only appears if you have enabled the tax codes feature. See How can I use tax codes on a project?
For contracts using the Unit/Quantity Based accounting method:
Change Event Line Item If you have change events enabled, you can select a change event line item if the commitment needs to be linked to a change event.
Unit Cost Enter the Unit Cost in the box provided.
Amount The system automatically calculates the subtotal for you, based on the Qty, UOM, and Unit Cost entries.
Click Save. A GREEN banner appears to indicate that the Schedule of Values is saved.
Important
If you assigned a budget code that is not currently represented on your budget or if leave the budget code field blank, a confirmation message appears. To proceed, you must click OK to acknowledge the message. This action adds the corresponding line item(s) to your project's budget as non-budgeted line items.