Create a Shipment
In Beta
This feature is currently in beta for select Procore customers.
This feature is currently in beta for select Procore customers.
You can use Procore to manage materials for your project. From the Materials tool, you can create shipments to track the materials you have ordered. You can create shipments for orders you placed outside of Procore, or from approved purchase and changed orders made in Procore's Commitments tool.
You can create a receipt from an order or a shipment. If you create a receipt from an order, it will automatically create a shipment. If you have already created a shipment for that order, it will create a duplicate. You can .
The Ship Date and the Estimated Transit Time entered will calculate the Estimated Delivery Date for the shipment's line items.
If creating a shipment for uploaded materials, you must create your receipt from the 'Create' button.
Materials must be listed in your inventory by one of the following methods:
The Commitments tool was used to create a purchase order or change order for materials, and includes the following information:
The status is Approved
The Schedule of Values (SOV) includes the following for each line item:
Description
Unit of Measure (UOM)
Create a shipment from the 'Create' button
Create a shipment from an order
If you uploaded your materials instead of ordering them through the Commitments tool, use this method to create your shipment.
Navigate to the project's Materials tool.
Add materials that need to be adjusted to your list. See .
Click Create and select Receipt.
Optional: Select a Purchase Order.
Note: Select this option if you ordered materials through the Commitments tool.
Enter the vendor information.
Enter the Receipt Date.
Click in to any field in the 'Route' table to make adjustments based on your shipment information.
Optional: Enter any notes.
Under 'Line Items', click the quantity field for each line item and enter the quantity of the material that needs adjustment.
Click Build Document.
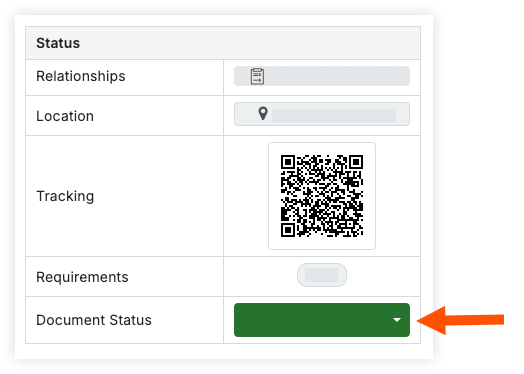
Optional: On the shipment, update the 'Document Status' to Released if the shipment is in transit.
Navigate to the project's Materials tool.
Click the Control tab.
Click the Orders sub tab.
Click the order number you want to create a shipment for.
Mark the checkboxes for the items in the shipment.
OR
Select the checkbox in the 'Document Line Items' header to select all items on the order.

In the 'Documents Line Items' header, click the hamburger ![]() icon and select Create Shipment.
icon and select Create Shipment.

Enter the shipment information:
Optional: Shipment Number/Name. Enter the shipment number or leave it blank to auto-generate a shipping number.
Optional: Destination. Enter the default destination assigned to all line items in the shipment. Individual line items can be updated later, or on the receipt when receiving the order. See .
Ship Date. Enter the date the items were shipped.
Estimated Transit Time (Days). Enter how many days the shipment is expected to be in transit before arrival.
Shipment Reference Type. Enter the reference type from one of the following:
Other/None
Notice
Release
Bill of Lading
Packing List
Optional: Reference Number. Enter the reference number for the shipment.
Optional: Notes. Enter any notes.
Click Create.
Optional:
Optional: On the shipment, update the 'Document Status' to Released if the shipment is in transit.