View the Company Cost Code Segment Settings
Hintergrund
Führen Sie die folgenden Schritte immer dann aus, wenn Sie die Einstellungen für das Segment "Kostenschlüssel" im PSP Ihres Unternehmens anzeigen möchten. Denken Sie daran, dass "Kostenschlüssel" ein Standardsegment ist und seine Einstellungen nicht auf Unternehmens- oder Projektebene bearbeitet werden können. Sie können jedoch Segmentelemente sowohl auf Unternehmens- als auch auf Projektebene hinzufügen, bearbeiten und löschen.
Dinge, die Sie beachten sollten
Erforderliche Benutzerberechtigungen:
Berechtigungen der Stufe "Admin" für das Admin-Tool auf Unternehmensebene.
Zusatzinformation:
Die Einstellungen des "Kostenschlüssel"-Segments können nicht auf Unternehmens- oder Projektebene bearbeitet werden.
Sie können jedoch Segmentelemente sowohl auf Unternehmens- als auch auf Projektebene hinzufügen, bearbeiten und löschen.
Begrenzungen:
For customers using the Company level ERP Integrations tool
The default segments in WBS are compatible with Procore's ERP Integrations tool. However, some integrations do NOT yet support custom segments.For customers who have independently developed or purchased a third-party solution to integrate with Procore
To take advantage of the custom segment capabilities associated with WBS, any existing API integrations that you have independently developed or purchased to interact with Procore must be updated to support Procore's new WBS API.
Prerequisites
Steps
Navigate to the Company level Admin tool.
Under 'Company Settings', click the Work Breakdown Structure link.
In the 'Segments' table, click the 'Cost Codes' segment.
Above the 'Cost Codes' table, click Configure Settings
 icon.
icon.In the 'Segment Settings' dialog box, you can view its settings. All settings are grayed out to indicate they cannot be edited.
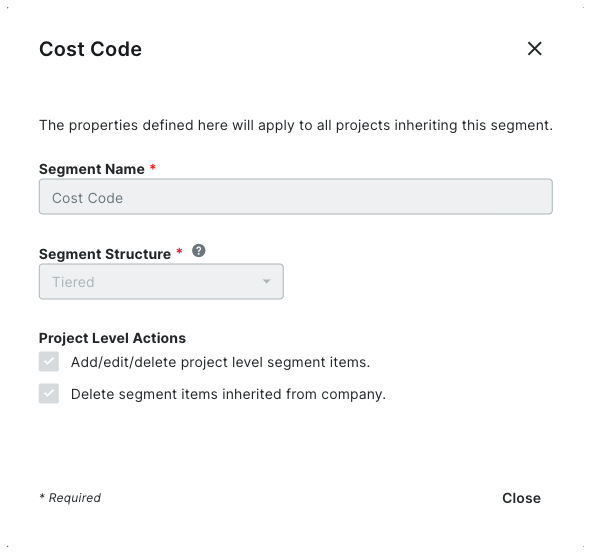
Note
The 'Cost Code' segment is a default segment. You cannot edit any of its settings

Click Close.