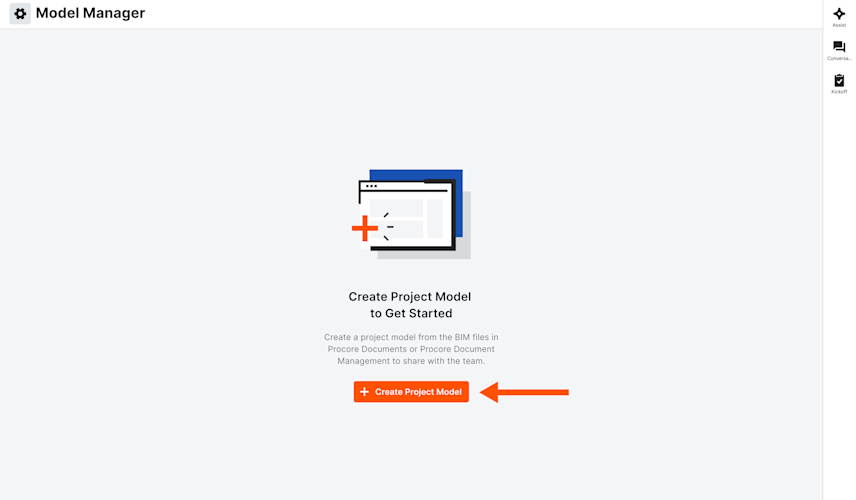
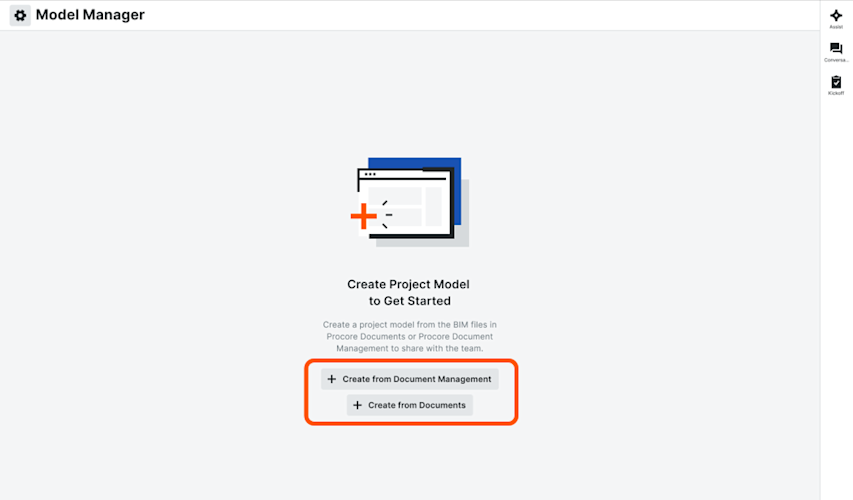
Federate a New Project Model
Procore Model Manager - Beta Access & Feedback
The Model Manager (Beta) features and documentation are subject to change without notice. (Note: At the launch of the Beta, only 'Admin' level permissions are available. Additional permissions will be phased in during the product lifecycle).