Saisir par lot des entrées de pointage sur une feuille horaire

Arrière-plan

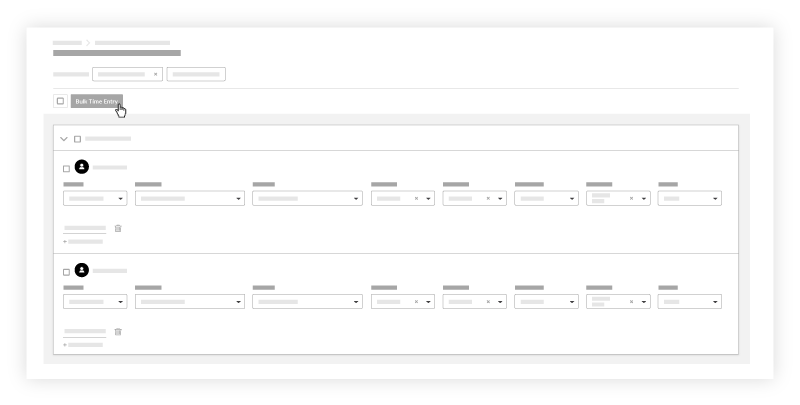
La saisie des heures par lot vous permet d’ajouter rapidement les mêmes informations à tous les pointages des employés sur une seule feuille horaire.

Éléments à prendre en compte

  • You can only bulk enter labor.

  • Employees and workers can have multiple timecard entries on a daily timesheet.

  • Zero hour timecard entries are supported to provide flexibility to enter time off and per diem.

  • 'Approved' timecard entries cannot be deleted.

  • Additional edits cannot be made after a timecard entry has been marked as 'Completed.'

  • Company Timesheets Administrators can limit the cost codes and types that appear the selectors when creating timecard entries. See Configure Advanced Settings: Company Level Timesheets.

  • Project Timesheets Administrators configure how time is collected for each project. Additionally, each some fields can be configured as required, optional, or hidden.

  • Équipement. Afficher/Masquer

    In Beta

    Company Administrators can enable the Improved Equipment Time Tracking in Procore Explore. (US 2 | UK)


    This beta allows you to define custom fields for equipment time entries and automatically sync them to the daily log.


    To sync Equipment Timesheets with Daily Log entries, the following must be true:

    • The configurable fieldset for Daily Log Equipment Entries must match the Equipment fieldset for Timesheets.

    • The Daily Log must be open and not marked as 'Complete'.

    • Users must have permissions to create a timecard entry.

    • Users must have permissions to create an Equipment Daily Log Entry.

  • Planification des ressources. Afficher/Masquer

    • Les utilisateurs sous le sous-en-tête « Affecté au projet » ont des affectations correspondantes dans l’outil Planification des ressources. Leurs heures de début et de fin sont automatiquement renseignées en fonction de leur affectation dans la planification des ressources.

    • Les utilisateurs doivent être ajoutés au projet dans Procore pour que leurs heures d’affectation de planification des ressources soient automatiquement renseignées dans les feuilles horaires. Voir Ajouter un utilisateur existant aux projets dans le compte Procore de votre entreprise.

  • Exigences à ajouter à une feuille horaire. Afficher/Masquer

Steps

  1. Navigate to the project's Timesheets tool.

  2. Click Create and select one of the following:
    Create Timesheet

    • New Daily Timesheet to create a blank timesheet.

      1. Click All Employees, Equipment, or select a Crew.

      2. Mark the checkbox(es) for the people or equipment you want to create a timesheet for.

      3. Click Add.

    • From Previous Timesheet to copy the last timesheet that you created.

    • Copy From Any Date to copy any previous timesheet that you have access to. Select the timesheet to copy and click Copy Timesheet.
      Note: By default, Procore displays the date with the most recent timesheet.

  3. Optional: Click the Add Resources button to to add additional employees.

  4. Mark the checkboxes next to the resources you would like to enter the same time information for.

  5. Click Bulk Time Entry.
    Bulk Enter Time

  6. Locate the 'Bulk Time Entry' section.

    Enter the timecard information for labor. Afficher/Masquer les champs

     Notes

    Certains champs peuvent être configurés comme obligatoires, facultatifs ou masqués. Voir Quels champs de l’outil Feuilles horaires peuvent être configurés comme obligatoires, facultatifs ou masqués ?

    • Classification: The resource classification.

    • Codes

      • Task Code: A time-entry selector based on your company’s configured Work Breakdown Structure and project settings.

        Notes
        • The options shown to users are filtered by admin controls (for example, cost type limits, budgeted-item restrictions, and active/inactive budget code status).

        • Applied filters are saved for future entries.

      • Cost Code: The budget code associated with the time entry.

      • Sub Job: Select from the drop-down menu the sub job associated with the time entry.

    • Location: The location where the work was performed.

    • Time

      • Total Time: The total time worked for the day.

      • Start Time: The time the resource started working.

      • Stop Time: The time the resource stopped working.
        Note: You will only see the Start and Stop fields if you have configured your settings to show these fields. See Configure Advanced Settings: Project Level Timesheets.

      • Lunch Time: The amount of time taken for a lunch break.
        Notes:

        • The amount of time selected will be subtracted from the Total Time.

        • This field will only be available if Start Time and Stop Time is enabled.

      • Time Type: Select the type of pay being entered.

        • Regular Time

        • Double Time

        • Exempt

        • Holiday

        • Overtime

        • PTO

        • Salary

        • Vacation

    • Billable: Select to indicate whether or not the entry is billable.

    • Time Type Rules. Mark the checkbox to automatically enforce overtime rules.

    • Description: Additional comments that will show in the timecard entry.

  7. In the 'Bulk Time Entry' section, click Apply.

  8. Repeat steps 3-6 to make additional bulk updates to the timecards.

  9. Submit the Timesheet.

    1. If available, click Update and Add Quantities if you would like to add quantities to your timesheet.

    2. Click Submit.

See Also

Loading related articles...