Créer des contrats de sous-traitance
Fond
Les contrats de sous-traitance peuvent être attribués pendant les phases de pré-construction et de construction d’un projet et sont généralement créés et suivis dans Procore par la gestion de projet. Après l’attribution d’un contrat général, le chef de projet crée des bons de commande et des contrats de sous-traitance pour des métiers spécifiques afin de sécuriser les matériaux et les services de sous-traitance pour un projet.
Éléments à prendre en compte
Autorisations utilisateur requises :
Pour créer un contrat de sous-traitance et voir/saisir des données dans l’onglet planning des coûts (VDC) :
Autorisations de niveau Admin dans l’outil Engagements du projet.
Les autorisations de niveau standard dans l’outil Engagements du projet et le paramètre Autoriser les utilisateurs à afficher les éléments de VDC doivent être activés et votre nom doit être sélectionné dans la liste déroulante Sélectionner une personne.
Pour créer un contrat de sous-traitance uniquement, autorisations de niveau Lecture seule ou Standard sur l’outil Engagements du projet avec l’autorisation granulaire « Créer un contrat d'ordre de travail » activée sur votre modèle d’autorisations.
Informations complémentaires :
Une autre façon de créer un contrat de sous-traitance consiste à attribuer un appel d’offres gagnant et à le convertir en contrat de sous-traitance. Voir Attribuer un appel d’offres gagnant et le convertir en contrat de sous-traitance.
Pour définir la méthode comptable du contrat de sous-traitance, voir Comment définir la méthode comptable d’un contrat ou d’un financement ?
Après avoir créé un contrat de sous-traitance, vous disposez des options suivantes pour créer des ordres de service :
Si votre contrat de sous-traitance est configuré pour les ordres de service à 1 niveau. Continuez avec Créer un ordre de service de l’engagement.
Si votre contrat de sous-traitance est configuré pour les ordres de service à 2 niveaux. Assurez-vous que le contrat de sous-traitance a le statut « Approuvé » et continuez avec Créer un ordre de service potentiel de l’engagement à partir d’un événement de changement.
Si votre contrat de sous-traitance est configuré pour les ordres de service à 3 niveaux. Assurez-vous que le contrat de sous-traitance a le statut « Approuvé » et continuez avec Créer un ordre de service potentiel de l’engagement à partir d’un événement de changement.
Pour les entreprises qui utilisent l’option
 Outil Intégrations ERP : des conditions préalables, des exigences, des limitations et des considérations spécifiques peuvent s’appliquer, en fonction du système ERP intégré à votre compte Procore.
Conditions préalables
Pour utiliser l’intégration Procore + DocuSign® afin de demander des signatures, consultez DocuSign®.
Escalier
Accédez à l’outil Engagements du projet.
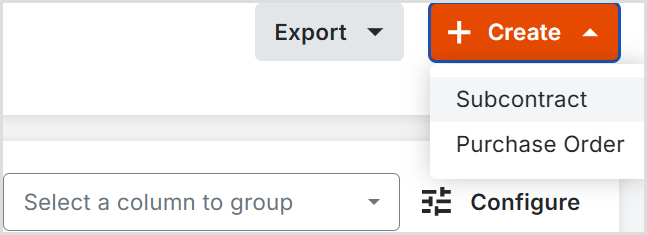
Dans l’onglet Contrats, cliquez sur le bouton Créer et choisissez Contrat de sous-traitance dans la liste déroulante.
Passez aux étapes suivantes :
Ajouter les informations de base
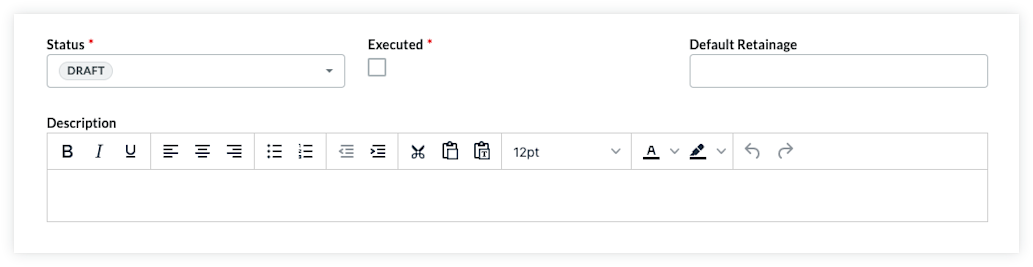
Mettre à jour les informations générales
Mettre à jour l’accès au contrat
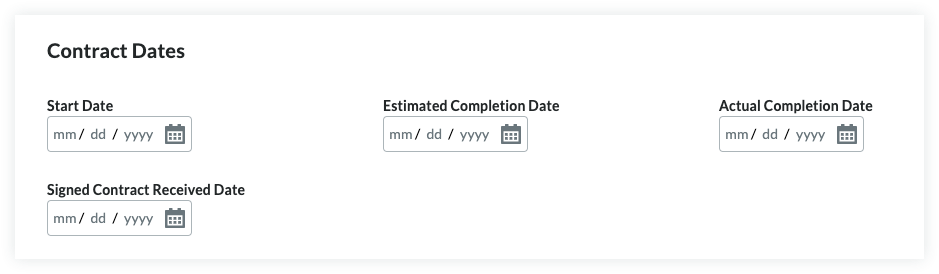
Mettre à jour les dates du contrat
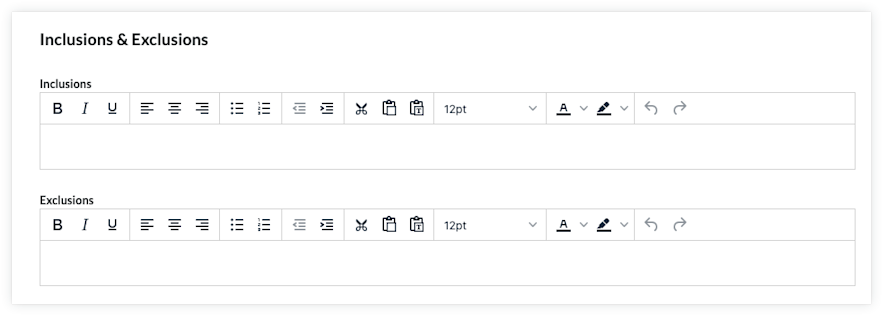
Ajouter le périmètre des travaux
Définir la méthode comptable
Mettre à jour la ventilation des coûts
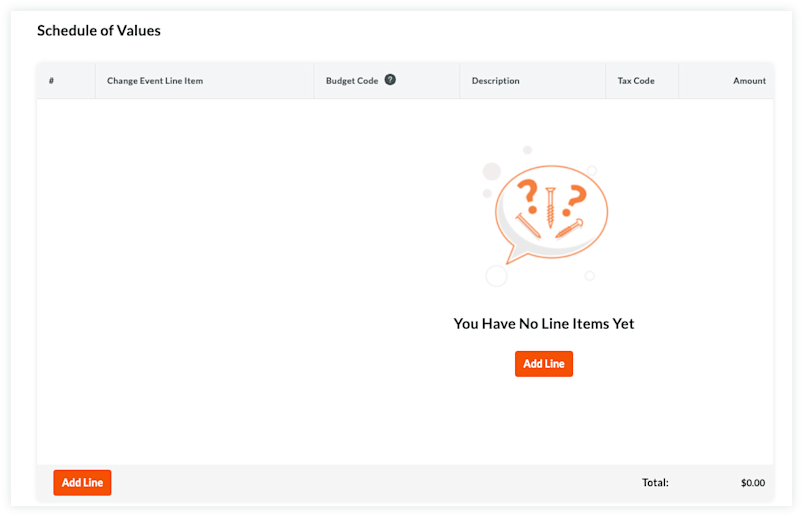
Ajouter des postes à la ventilation des coûts
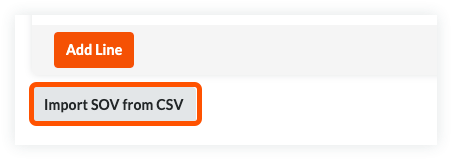
Importer des postes dans la ventilation des coûts à partir d’un fichier CSV
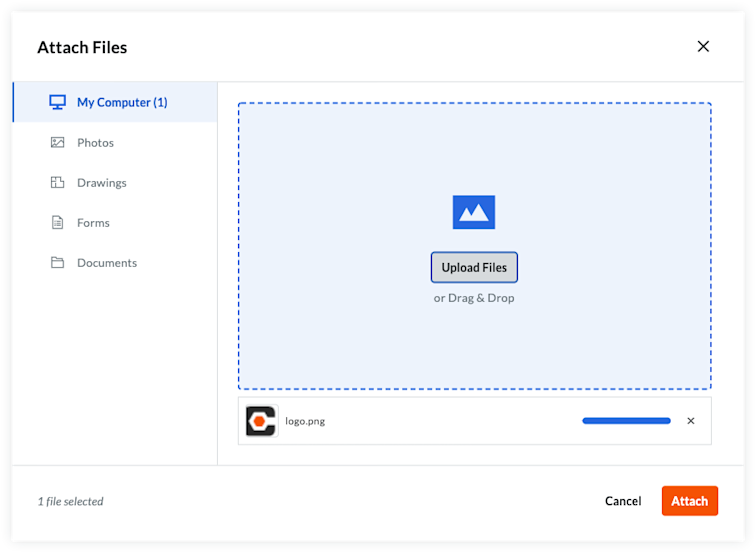
Joindre des fichiers
Enregistrer le contrat
Ajouter les informations de base
Mettez à jour les informations de base comme suit :
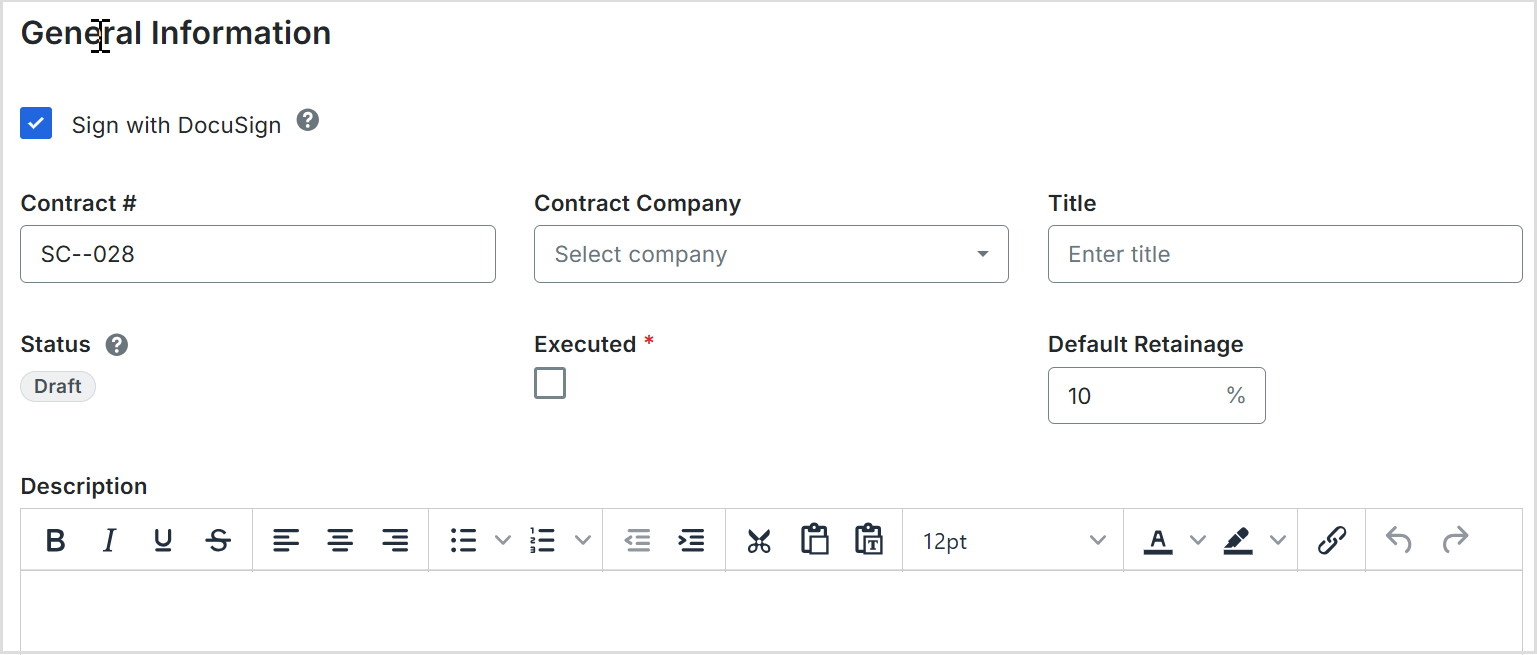
Il n’y a pas de champs obligatoires lors de l’ajout des informations de base.
Si vous cliquez sur le bouton Créer sans avoir terminé la saisie de données, Procore enregistre le contrat, vous répertorie comme créateur et le place automatiquement au statut Ébauche .
Numéro de contrat Pour numéroter vos contrats, choisissez parmi ces options :
Si vous numérotez vos contrats à l’aide d’un système de numérotation séquentielle, vous pouvez saisir n’importe quelle combinaison de caractères alphanumériques dans cette case. Pour les contrats suivants, Procore applique automatiquement la numérotation consécutive dans l’ordre croissant.
ExempleLes exemples ci-dessous vous montrent comment fonctionne la numérotation consécutive ascendante de Procore :
Si le contrat précédent était 1, les contrats suivants sont 2, 3, et ainsi de suite.
Si le contrat précédent était CP-0001, les contrats suivants sont CP-0002, CP-0003, etc.
Si le contrat précédent était DCA00010-12-G-0001, les contrats suivants sont DCA00010-12-G-0002, DCA00010-12-G-0003, etc.
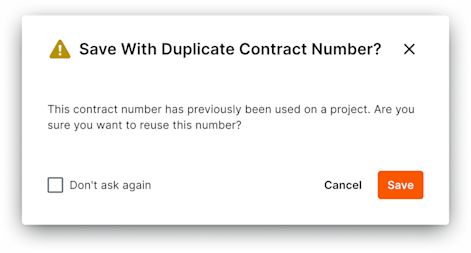 Si le # de contrat de l’engagement que vous créez a déjà été utilisé sur un projet au sein de votre entreprise, une fenêtre de confirmation apparaîtra pour vous demander comment vous souhaitez procéder. Si vous choisissez d’ignorer ce message, cliquez sur Enregistrer et le contrat sera créé. De plus, si vous ne souhaitez pas recevoir ce message lors de la création d’engagements futurs, vous pouvez cocher à nouveau la case à côté du texte Don’at as.