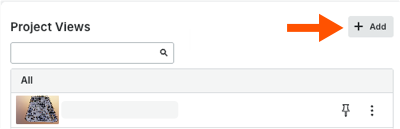
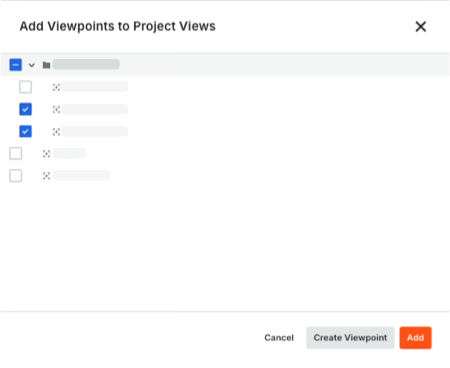
Add Project Views to the Landing Page

Procore Model Manager - Beta Access & Feedback

The Model Manager (Beta) features and documentation are subject to change without notice. Please be aware that this content is restricted to beta participants and requires a direct link to access.

  • To learn about the beta program, see the Beta Participant Guide.

  • To access the beta and provide feedback Show/Hide Details

    • How to Access: Participating companies must sign the Procore Beta Agreement. Once signed, your Procore Administrator coordinates with your Procore point of contact to enable Model Manager (Beta) on specific Procore projects.

    • How to Provide Feedback During Beta: Contact your dedicated Beta program lead.

    • How to report critical issues: Report breaking changes to Procore Customer Support. For general feedback or non-critical issues, contact your Beta program lead or Procore point of contact.


Currently, only Admin permissions are available. Procore will add more permission levels later.

Add project views to save specific viewpoint perspectives of your 3D model. These views help you (or your team) navigate to key areas quickly. By adding a project view, you avoid manually recreating complex camera angles or section cuts, ensuring you always have access to critical visual data.

Tip

What's the difference between a viewpoint and a project view? A viewpoint is as a spatial bookmark for a specific camera angle and a project view is a specific viewpoint has been elevated so its visible on the Project Views card of the Model Manager (Beta) landing page.

  • Check back for updates

    Admins will be able to set project views to Public or Private to ensure teams have the right model configuration. All other users are restricted to creating private views for personal use.

Things to Consider

Prerequisites

Steps

Follow these steps to add a new project view to the Project Views card on the landing page.

  1. Navigate to the Model Manager (Beta) tool.

  2. Go to the Project Views card, click Add.
    This image shows the Add button in the Project Views card of the Model Manager tool, which is only available to tool Admins.

  3. In the Add Viewpoints to Project Views window, you have these options:

    1. Create a new viewpoint. Click the Create Viewpoint to open the federated project model in the document viewer with the Viewpoints window active.

    2. Add an existing viewpoint. Mark one or more checkboxes for the viewpoints to add and click Add. A green success banner notifies you when successfully added to the Project Views card.
      This image shows the Add Viewpoints to Project Views window with two viewpoints selected and the Create Viewpoint and Add buttons active.

  4. When finished, click Close. Procore saves your viewpoint as a project view and displays it in the Project Views card.


Windows is a registered trademark of Microsoft Corporation in the United States and other countries. Google Chrome, Android, and Google Play are trademarks of Google LLC. iPhone, iPad, and App Store are trademarks or service marks of Apple Inc., registered in the U.S. and other countries and regions. iOS is a trademark or registered trademark of Cisco in the U.S. and other countries and is used under license by Apple Inc. Autodesk, AutoCAD, Civil 3D, Navisworks, and Revit are registered trademarks or trademarks of Autodesk, Inc., and/or its subsidiaries and/or affiliates in the USA and other countries. All other trademarks are the property of their respective owners.