Authorize a Disbursment
The steps to follow depend on whether the Workflows tool is enabled or disabled in your environment. For instructions, see:
Workflow Enabled: Start the Payments Workflow & Authorize the Disbursement
Workflows Disabled: Authorize the Disbursement
Important
Once authorized, a disbursement's drawdown instructions and payment orders cannot be canceled. To cancel a disbursement before authorizing it, see Cancel Disbursements Before Authorization as a Payor.
Workflows Enabled: Start the Payments Workflow & Authorize The Disbursement
If the Workflows tool is enabled, a custom payments workflow guides your team through your company's approval process. The system sends an email notification to the assignee for the first step, who then reviews the disbursement and its invoice payments. Your team may have one (1) or multiple workflow steps.
Cliquez ici pour voir les étapes.
Start the Payments Workflow
In the Disbursement # page, click Start Workflow.
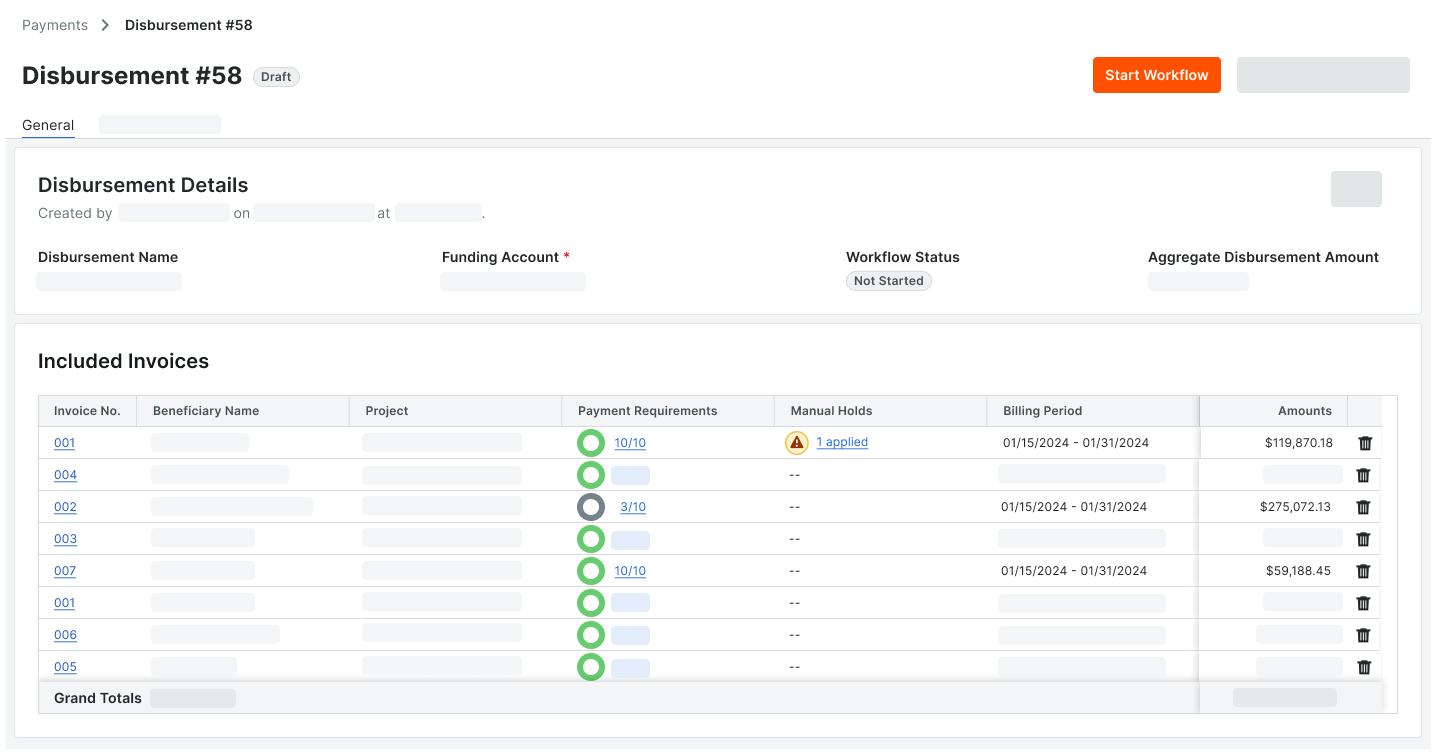
The system starts the custom payments workflow configured for the Payments tool. The Workflow Status changes from Not Started to Under Review. A Workflows panel also opens on the right side of the page.Each assignee(s) on the custom payments workflow must complete their assigned step. For instructions, see Approve or Reject a Disbursement with a Custom Payments Workflow.
On the Workflows panel, the system shows the name of the current workflow step, the due date, the status of the step, and the name of the assignee.

Conseils
Vous souhaitez masquer le panneau Flux de travail du décaissement ? Cliquez sur Masquer le flux de travail.
Vous voulez annuler le déboursement ? Cliquez sur Annuler le décaissement. Cette action supprime définitivement le débours. Il ne peut pas être récupéré, mais vous pouvez en créer un nouveau pour le remplacer.

Continue with the next step.
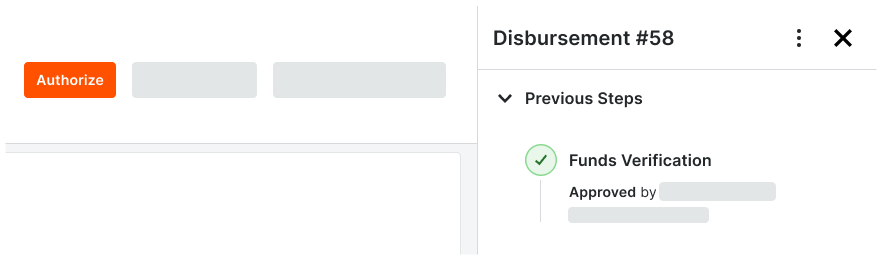
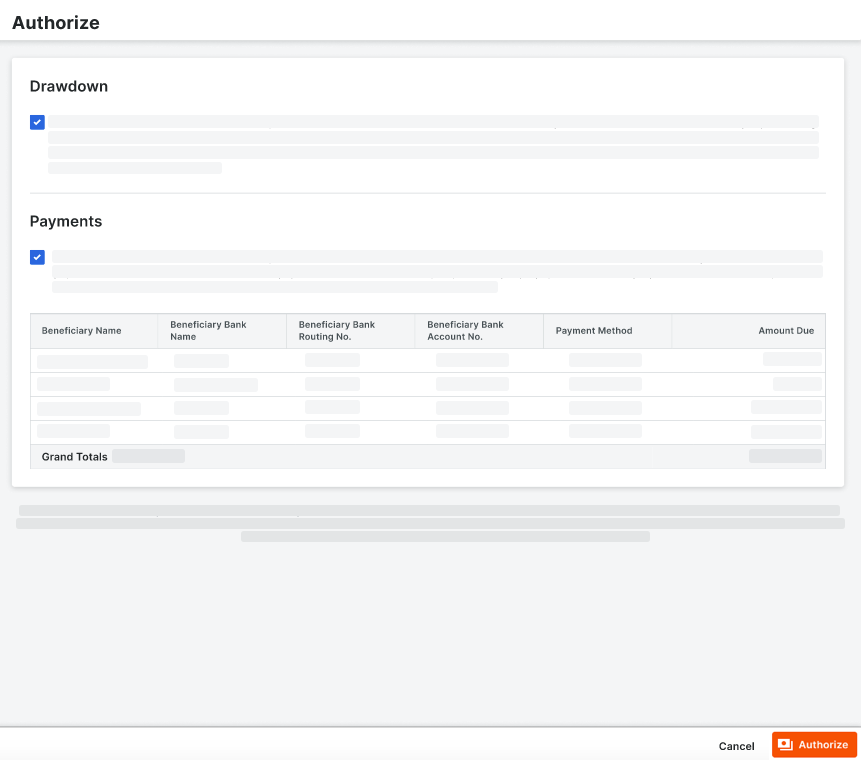
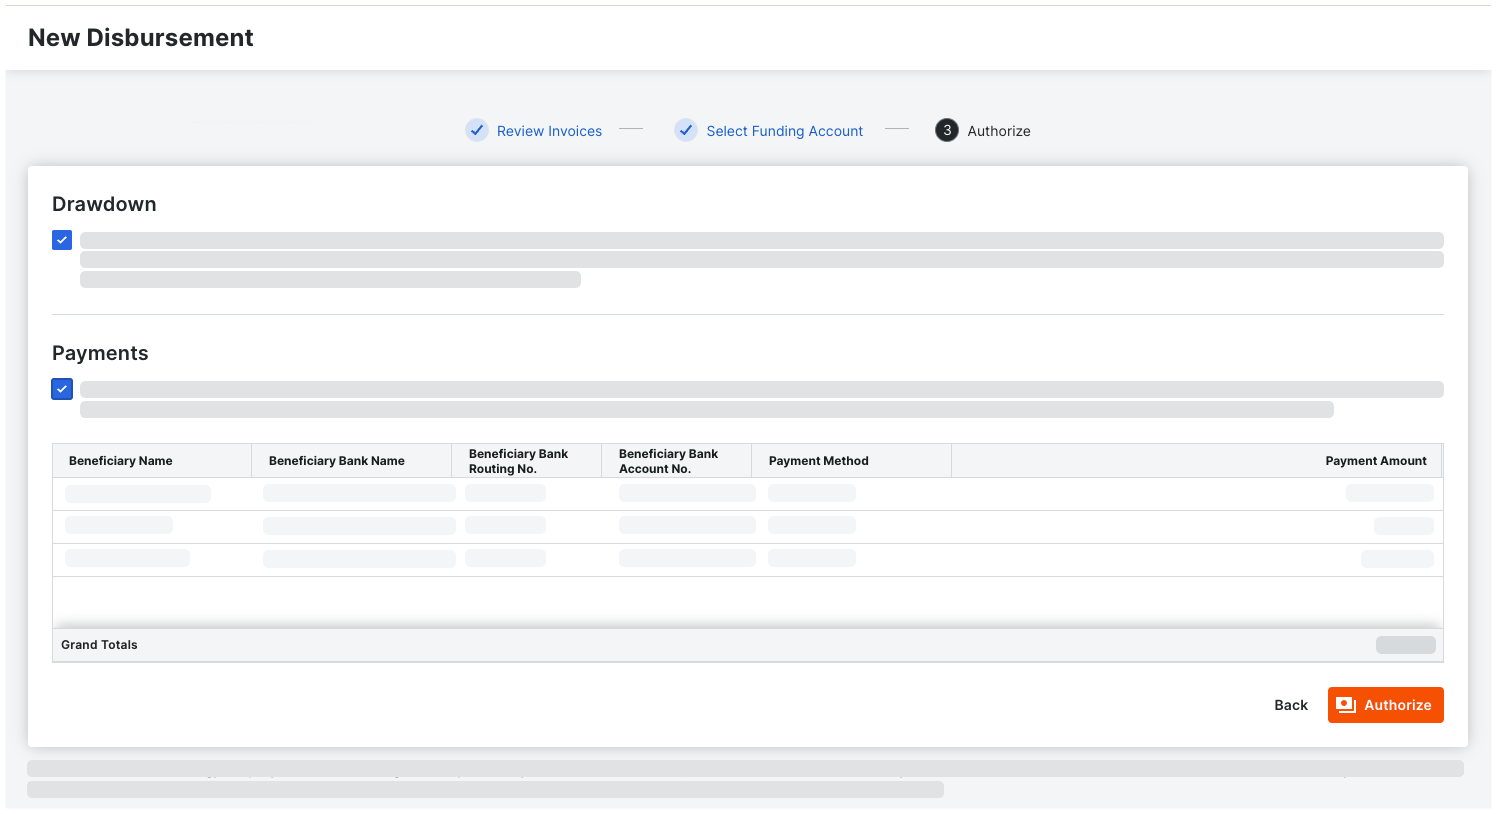
Authorize the Disbursement
Once the disbursement is approved, a Payments Admin or Payments Disburser completes the authorization step. To safeguard your company from the potential for misconduct, Procore requires two (2) different users to handle invoice approval and payment authorization. This helps to prevent a single Procore user from unilaterally approving an invoice and authorizing its corresponding payment.
Important
Les administrateurs de paiements et les débours ne peuvent pas autoriser un décaissement s’ils sont également le dernier utilisateur à approuver une facture de sous-traitant dans ce décaissement.
In the General tab of the disbursement, click Authorize.
Pointe
Vous ne voyez pas le bouton Autoriser ? Si votre entreprise a activé l’outil Flux de travail, mais n’a pas configuré de flux de travail de paiements personnalisés pour Procore Pay, une bannière d’alerte apparaît. Consultez les bonnes pratiques pour la création d’un flux de travail de À propos de l’onglet Traitement des paiements de l’outil Paiements - Configurer un modèlepaiements et Configurer les paramètres d’un modèle de flux de travail de paiement.