Add Funding Accounts
Navigate to the Company level Payments tool.
Click the Payments Settings
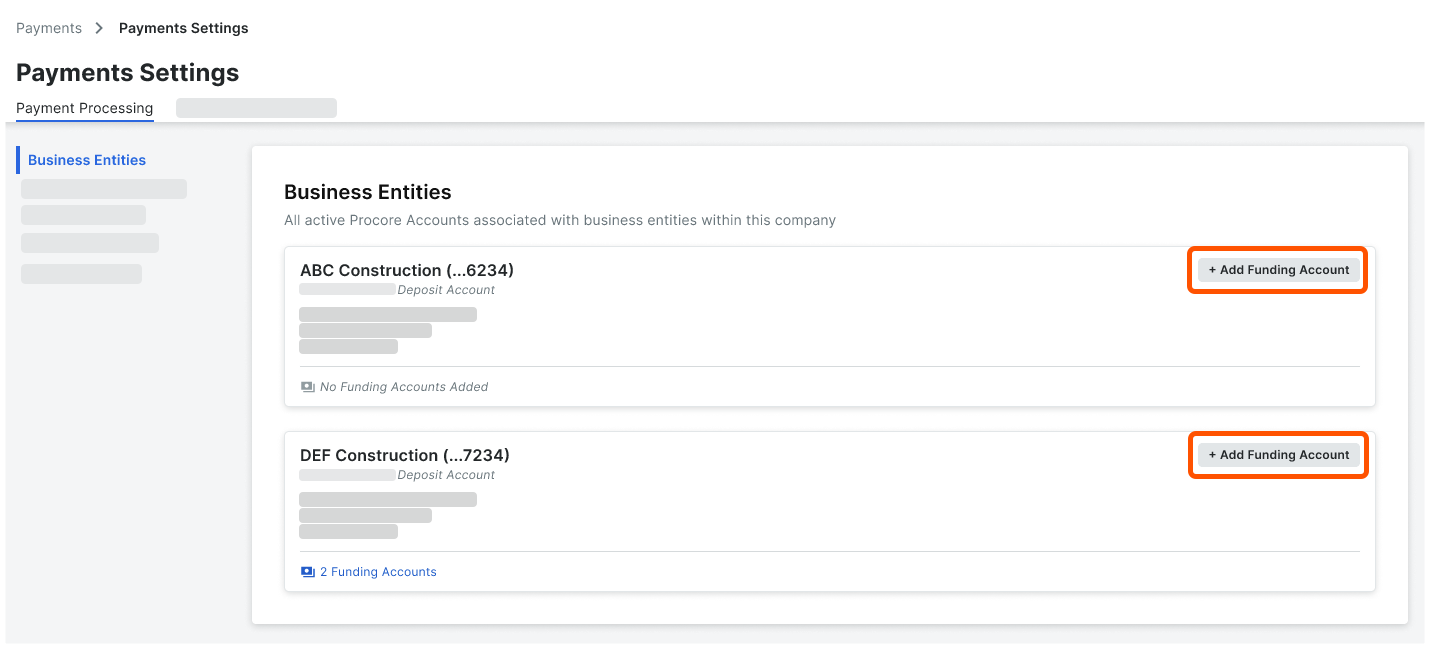
 icon. This opens the Payments Settings page. The 'Business Entities' page in the 'Payments Processing' tab is active by default and lists the business entities that pay invoices for your company's Procore Pay software.
Go to the desired business entity and click Add Funding Account.
In the Add Funding Account panel, do the following:
Nickname. Enter a unique nickname for the account. Nicknames quickly identify the bank account for disbursements while helping to protect the privacy of its account number.
Business Entity. Shows the name of the current business entity.
Account Number. Enter the full account number in this field. See Where do I find my routing and account number?
Reenter Account Number. Reenter the full account number in this field.
Routing Number. Enter the routing number for this account. See Where do I find my routing and account number?
Account Type. Choose Checking or Savings.
Bank ID. Enter a bank identifier. Procore uses the bank ID as a prefix for a payment's check number. You can change this number at any time. However, any new changes only impact new check numbers.
Important
Pour les entreprises qui utilisent l’option
 Outil Intégrations ERP: l’identifiant de la banque doit correspondre à l’identifiant bancaire du compte de financement dans votre système ERP intégré.

Check Number. Enter a check number for the next invoice payment. This provides each check a unique identification number for this account. See How does Procore assign numbers to disbursement payouts? It also helps users who Manage Disbursements to identify transactions.
Important
Pour les entreprises qui utilisent l’option ![]() Outil Intégrations ERP :
Outil Intégrations ERP :
Une fois que Procore Pay a traité le paiement d’une facture dans un décaissement, la combinaison « ID bancaire » et « Numéro de chèque » est exportée vers votre système ERP intégré.
Pour éviter d’éventuelles erreurs de synchronisation ERP, assurez-vous que le numéro de contrôle saisi est supérieur au dernier numéro de contrôle dans votre système ERP afin d’éviter les doublons dans votre système ERP intégré. Voir Comment les paiements effectués dans Procore Pay sont-ils synchronisés avec un système ERP intégré ?